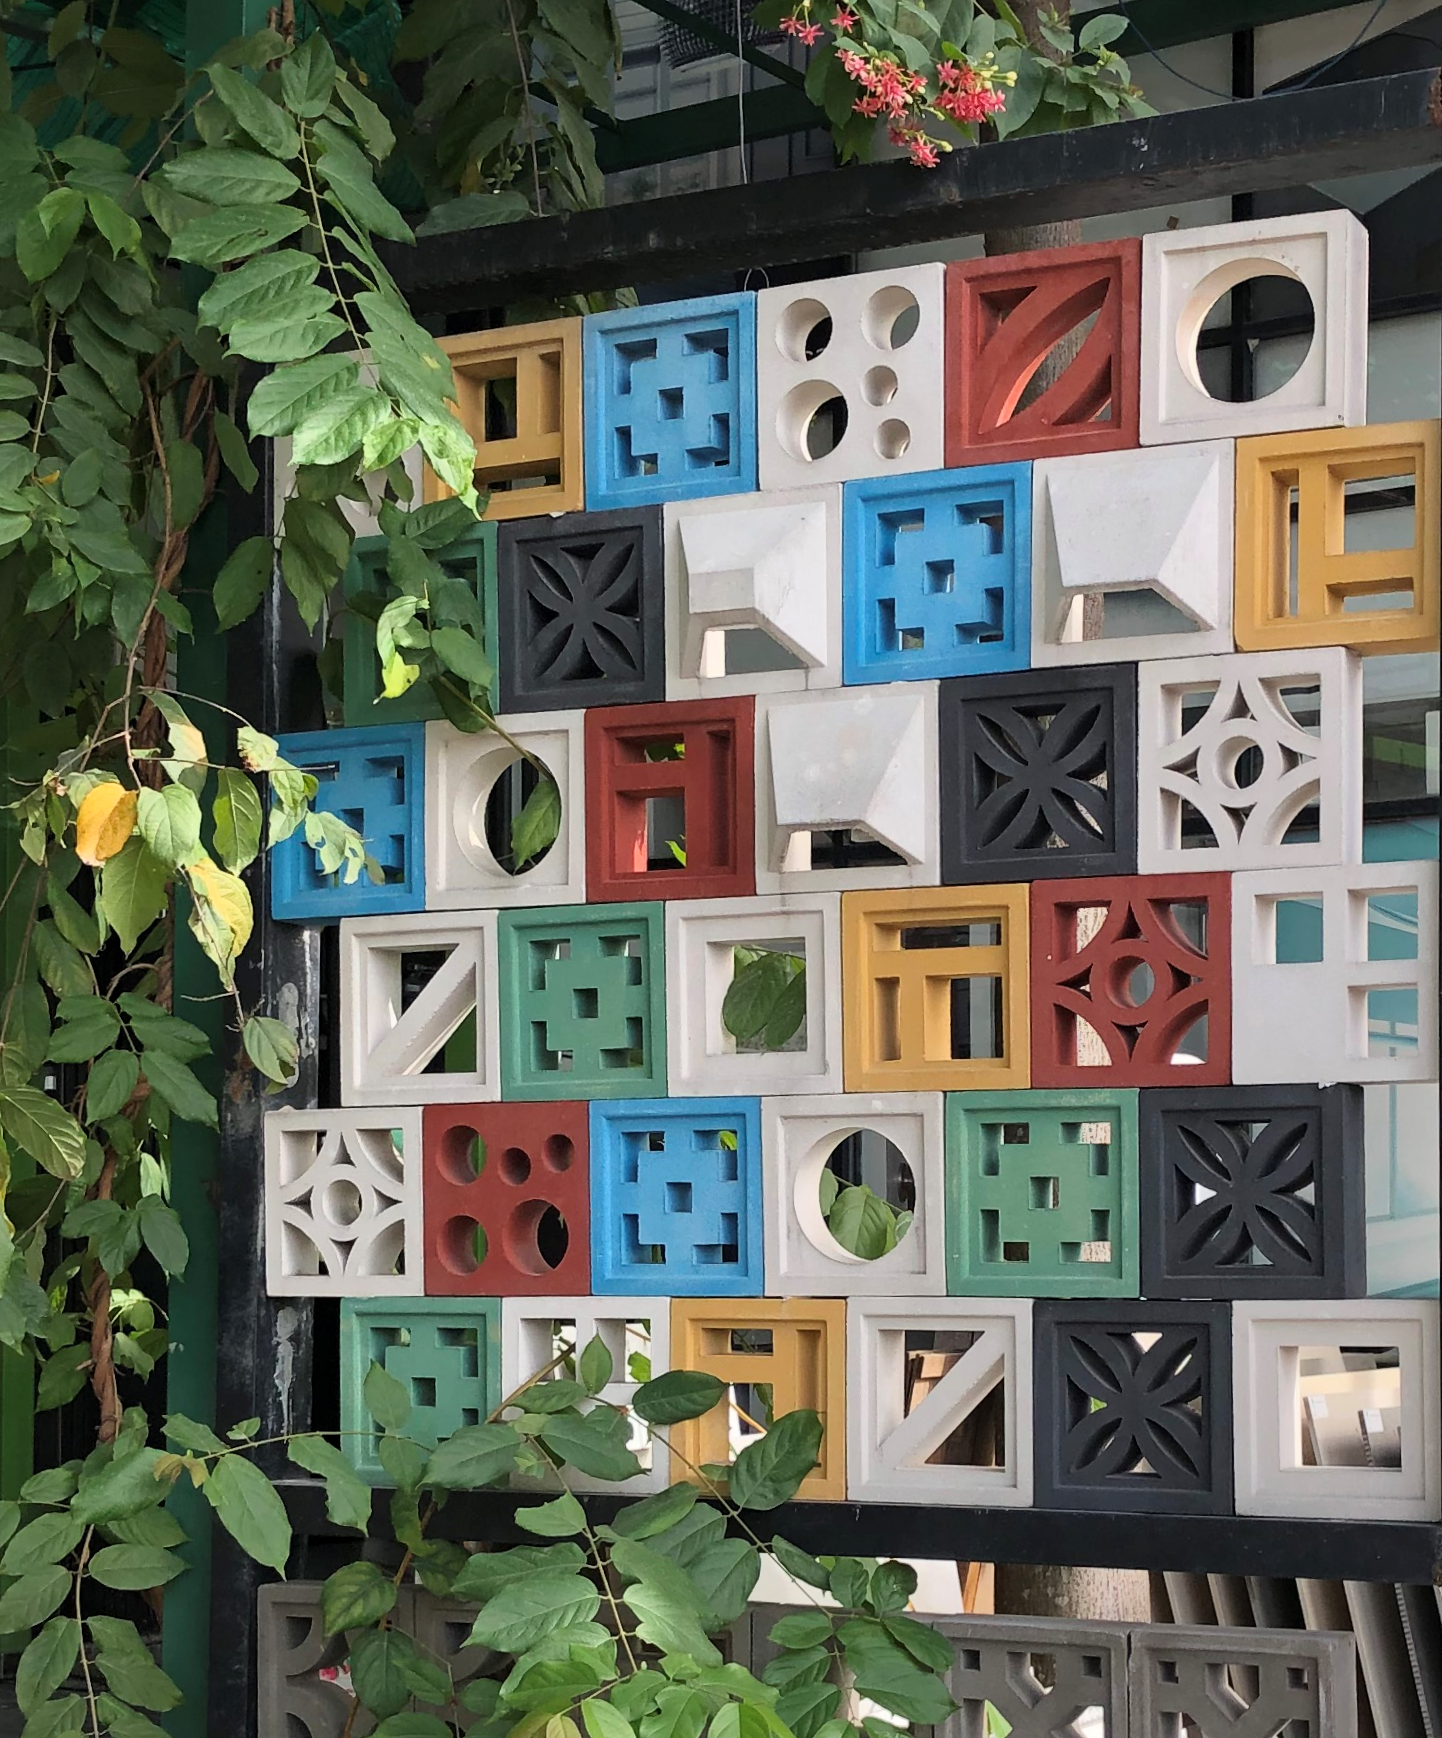
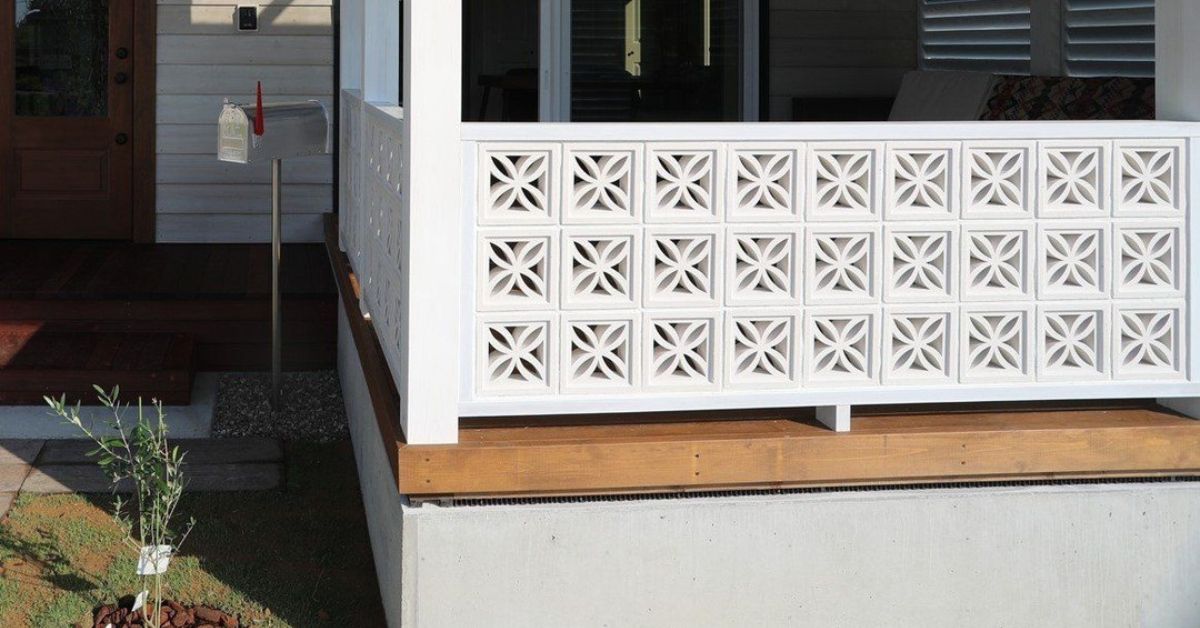
Breeze blocks have a way of stealing the show. Their sculptural cutouts, graphic shadows, and mid-century charm make them a favorite for designers working on residential and hospitality spaces alike. But when it comes to painting them, a quick coat and a roller simply won’t do. Knowing the right way to prep and paint breeze blocks is what separates a crisp, architectural finish from a patchy, peeling mess. If you’re refreshing an existing installation or customizing blocks for a new project, here’s how to do it the right way.
Why Proper Prep Matters
Breeze blocks are typically made from cement or concrete, which means they’re porous by nature. That porosity is part of their beauty, but it also means they absorb moisture and paint differently than smooth drywall or wood.
If the surface isn’t cleaned and sealed correctly, paint can soak in unevenly, leading to blotchy color and premature chipping. In exterior applications, skipping prep can also trap moisture inside the block. Over time, that leads to cracking and surface damage.
In short, prep isn’t optional. It’s the foundation of a professional result.
Step One: Start With a Thorough Cleaning
Before you even think about primer, the surface must be completely clean. Breeze blocks collect dust, dirt, and construction residue in their openings and textured surfaces. Exterior installations may also have mildew or mineral buildup.
Use a stiff-bristle brush to loosen debris. For deeper cleaning, a mild detergent mixed with water works well. In exterior settings, a gentle pressure wash can be helpful, but avoid aggressive settings that could damage edges.
Allow the blocks to dry fully before moving to the next step. Because concrete holds moisture, this may take longer than expected. Painting over damp blocks can cause bubbling and adhesion problems later.
Step Two: Repair Imperfections
Once clean and dry, inspect the blocks carefully. Look for hairline cracks, chips along the edges, or uneven mortar joints.
Small cracks can be filled with a masonry patching compound. Use a putty knife to smooth the surface and let it cure according to manufacturer directions. If mortar joints are crumbling, they should be repaired before painting.
The goal is to create a stable, uniform surface. Paint will not hide structural flaws. It will only highlight them.
Step Three: Apply a Masonry Primer
Concrete and cement surfaces require a primer designed specifically for masonry. This step seals the porous surface and creates an even base for paint to adhere to.
Choose a high-quality bonding primer labeled for concrete or cement block. For exterior applications, make sure it is rated for outdoor use and offers moisture resistance.
Apply primer with a brush to reach into the decorative cutouts. A small roller can help cover flat faces more efficiently, but breeze blocks demand patience. Their curves and openings require careful attention.
Allow the primer to dry completely before applying paint. Skipping proper drying time is one of the most common mistakes in this process.
Choosing the Right Paint
Not all paint performs well on masonry. For designer cement blocks, durability and breathability matter.
Acrylic latex paint formulated for exterior masonry is typically the best choice, even for interior installations. It adheres well, resists cracking, and allows moisture vapor to escape. That breathability helps prevent blistering over time.
For outdoor breeze block walls, consider paint with built-in UV resistance. Sun exposure can fade color quickly, especially in bright white or saturated hues.
Finish also plays a role. A satin or low-sheen finish highlights the dimensional qualities of the block without emphasizing surface irregularities. High-gloss finishes tend to draw attention to texture in ways that may feel harsh.
Step Four: Apply Paint With Care
When painting breeze blocks, technique matters just as much as product selection.
Use a high-quality angled brush to work paint into corners and detailed openings. A small roller can be used for larger flat surfaces, but it should not replace brushing entirely. Spray applications can work in some cases, particularly for new installations, but they require masking surrounding areas carefully.
Apply paint in thin, even coats. Thick layers may drip or pool in the cutouts, which can soften the crisp geometry that makes breeze blocks so striking. Two lighter coats typically provide better coverage and a longer-lasting finish than one heavy application.
Allow adequate drying time between coats. Rushing this step can compromise adhesion and durability.
Interior vs. Exterior Considerations
Painting breeze blocks indoors offers more flexibility. Climate control reduces moisture concerns, and color choices can lean bold without worrying about UV exposure.
Exterior installations require more planning, as temperature and humidity affect drying time and overall performance. Avoid painting in direct midday sun or during rainy conditions; ideally, choose a mild, dry day with stable temperatures.
In coastal environments, salt air can be particularly harsh on exterior finishes. Selecting high-performance paint and primer products is especially important in these settings.
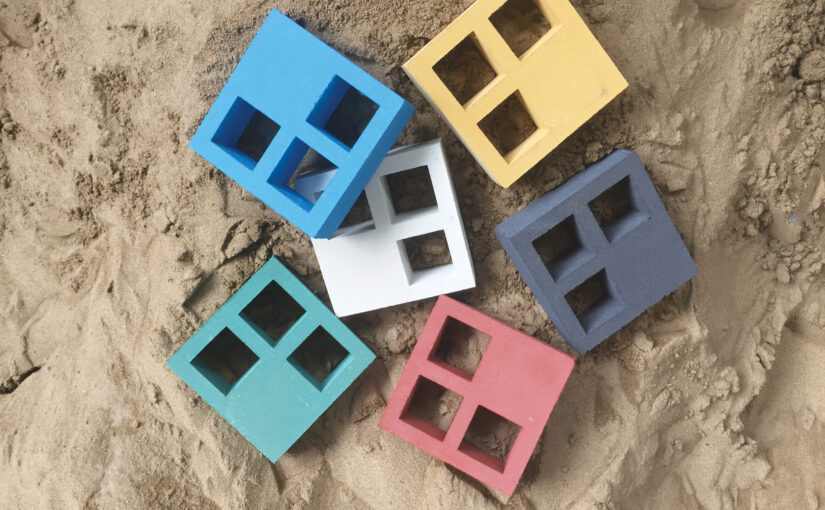
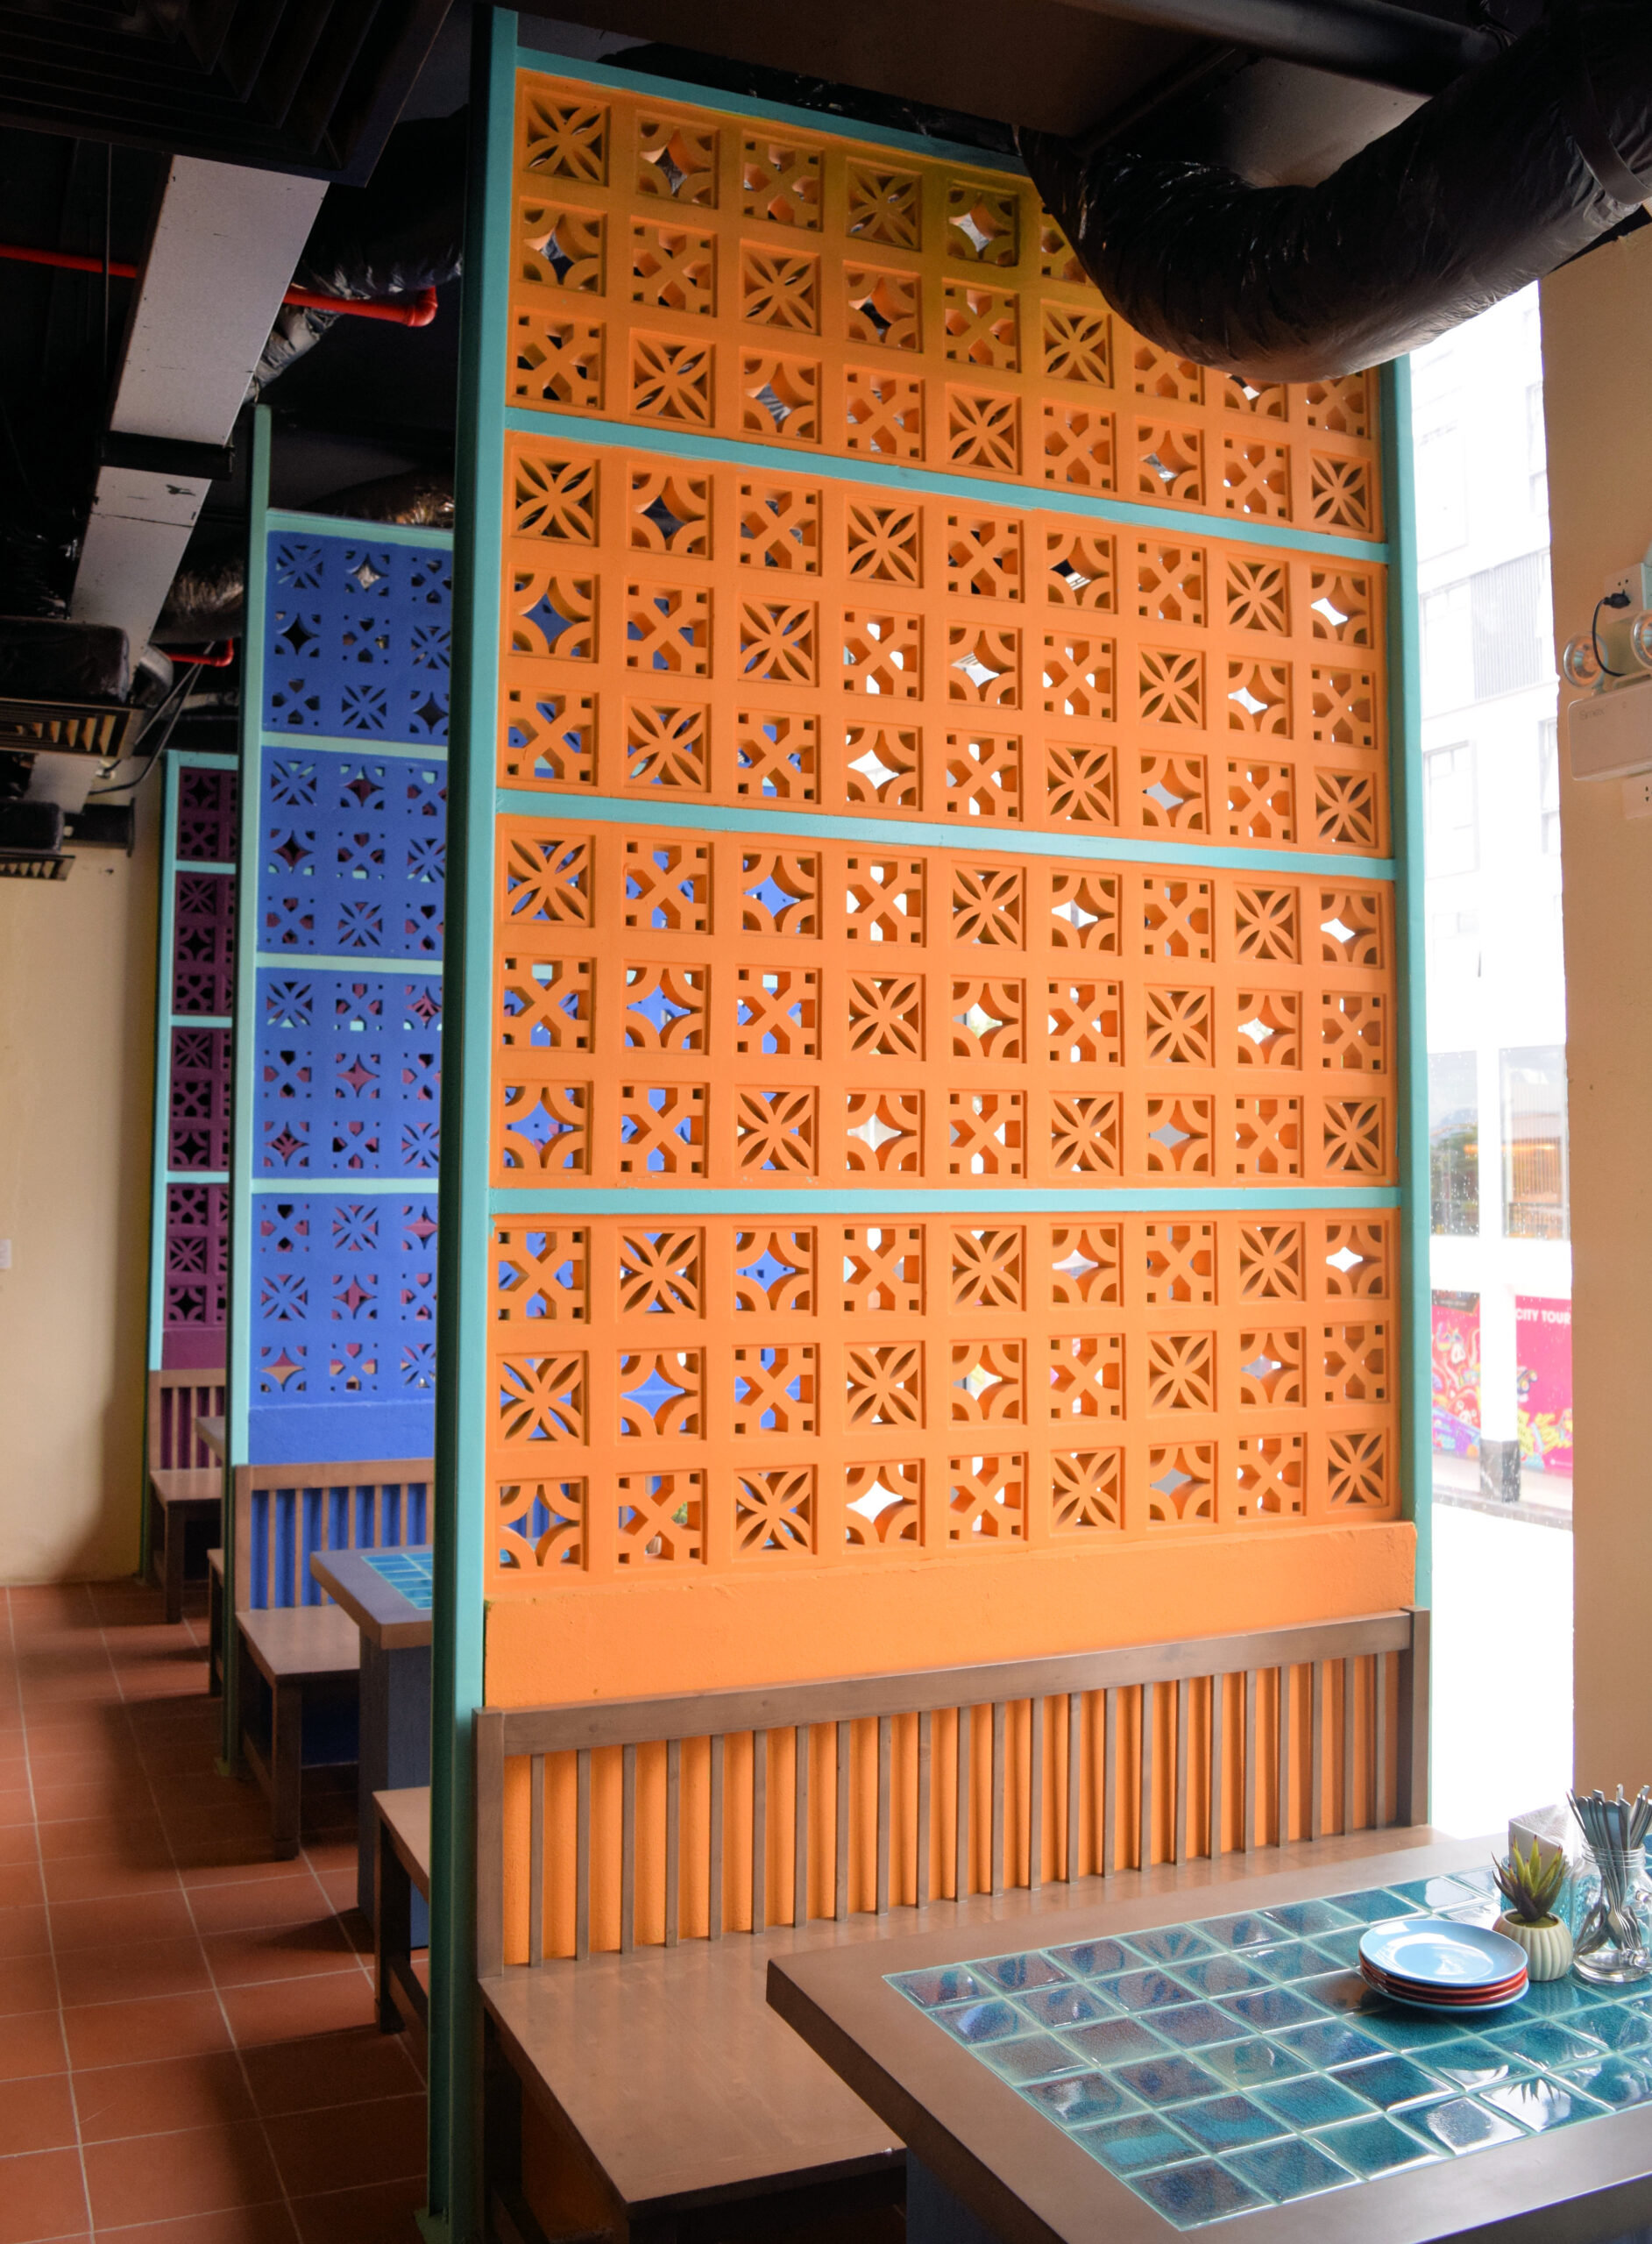
Color Strategy for Breeze Blocks
Because breeze blocks create pattern through shadow and light, color interacts differently than it does on flat walls. Light tones emphasize form and allow shadows to stand out dramatically throughout the day.
Darker shades create a more solid, graphic look. They reduce shadow contrast and can make the installation feel bold and modern.
For hospitality spaces or statement walls, designers often use breeze blocks as sculptural backdrops. In these cases, paint color should coordinate with surrounding materials, including tile, flooring, and furnishings.
When working alongside patterned surfaces such as cement tiles, consider how color repetition or contrast will affect the overall composition. The blocks should feel intentional, not disconnected from the larger design story.
Maintaining Painted Breeze Blocks
Even with proper prep and high-quality materials, painted masonry requires maintenance over time.
Regular cleaning with mild soap and water helps prevent buildup that can dull the finish. Avoid harsh chemical cleaners that may strip or discolor paint.
Inspect exterior blocks annually for signs of cracking or peeling, and touch up small areas promptly to prevent moisture intrusion. With the right care, a painted breeze block installation can maintain its fresh look for years.
When to Consider a Different Finish
In some cases, painting may not be the ideal solution. If the natural texture and tone of the concrete complement the design, sealing the blocks instead of painting them can preserve their raw character.
Specialty masonry stains are another option. They penetrate the surface rather than forming a film on top, resulting in a more natural, mineral-based appearance.
The decision ultimately depends on the design goal. Paint offers bold customization, while sealers and stains highlight the inherent beauty of the material itself.
Bringing It All Together
Breeze blocks are architectural elements first and decorative accents second. Their dimensional structure demands thoughtful treatment.
Taking the time to clean, repair, prime, and apply paint properly ensures that the final result looks polished rather than improvised. The difference shows in the crispness of the edges, the evenness of the color, and the longevity of the finish.
Whether used as a privacy screen, feature wall, or exterior façade, knowing how to properly prep and paint breeze blocks can transform a space. With the right preparation and materials, they maintain their sculptural presence while gaining a fresh layer of personality.