How to Remove Cement Tile Stains Without Damage

Cement tile has a way of making a room feel lived-in and thoughtfully designed at the same time. The soft texture and handmade appearance give it warmth that many modern surfaces cannot match. Even after years of use, well-maintained cement tile can continue looking rich and full of character. That lasting appeal is one reason designers continue using it in homes and hospitality spaces alike.

Still, cement tile needs thoughtful care because the surface is naturally porous. A stain that sits too long can soak beneath the sealant and leave behind discoloration that becomes difficult to remove later. Harsh cleaning products can create even bigger problems by dulling the finish or weakening the protective barrier. Knowing how to remove cement tile stains without damage helps preserve the appearance of the tile while protecting the craftsmanship that makes it special.

Why Cement Tile Reacts Differently to Stains

Many people assume cement tile should be cleaned the same way as porcelain or ceramic surfaces. That assumption often leads to unnecessary damage because cement tile responds differently to moisture and chemical exposure. Since the material absorbs liquid more easily, aggressive cleaners can penetrate beneath the surface instead of simply lifting the stain away.

The matte finish also changes the way stains appear. Rather than sitting on top of the tile with a glossy sheen, discoloration tends to blend into the surface. This can make stains seem lighter at first even though they are slowly settling deeper into the tile.

That is why gentle cleaning methods work best. Slowing down and treating the stain carefully usually produces a better result than attacking it with heavy-duty products.

Start With the Simplest Cleaning Method

The safest approach always begins with mild cleaning. Warm water combined with a pH-neutral cleaner can often remove fresh stains before they become permanent. A soft cloth usually works better than rough scrubbing because it protects the sealer while still lifting residue from the surface.

Once the area has been cleaned, it helps to rinse the tile thoroughly so leftover soap does not dry across the finish. Drying the surface afterward also reduces the chance of mineral buildup appearing later.

Many homeowners make the mistake of assuming stronger cleaners produce faster results. In reality, harsh products often strip away the sealant and leave the tile more vulnerable to future staining.

How to Remove Grease Without Harming the Finish

Grease stains can become especially frustrating because oil naturally sinks into porous materials. A dark spot may continue spreading even after the surface appears dry. The sooner the stain is treated, the easier it usually becomes to remove.

Baking soda is often effective because it gradually absorbs oil from the tile instead of forcing it deeper into the surface. Allowing the powder to rest over the stain for several hours gives it time to pull out trapped residue. Afterward, the area can be cleaned gently with warm water.

Patience matters during this process. Scrubbing aggressively may wear down the sealant before the stain fully lifts away. Repeating a gentle treatment several times is usually safer than trying to remove the discoloration all at once.

Cleaning Food and Drink Stains Carefully

Dark beverages can leave noticeable discoloration when they sit on cement tile too long. Rich sauces may also create lingering marks because pigments settle into the porous surface. Fast cleanup greatly improves the chances of avoiding permanent staining.

Blotting the spill works better than wiping it across the tile. Rubbing too hard can spread the stain outward while also pushing moisture further into the surface. Once the excess liquid has been removed, mild soap and warm water are often enough to finish the cleanup.

If some discoloration remains, hydrogen peroxide may help lighten the affected area. It should always be tested in a hidden spot first because certain pigments can react differently depending on the color of the tile.

Dealing With Hard Water Residue

Bathrooms sometimes develop cloudy marks caused by mineral deposits left behind after moisture evaporates. Over time, the residue can make the tile appear dull even when the surface is otherwise clean.

Acidic products should never be used on cement tile because they may permanently etch the surface. Vinegar is one of the most common mistakes people make when trying to remove hard water buildup. Although it works on some materials, it can damage cement tile surprisingly fast.

A cleaner made specifically for natural surfaces is usually the safer choice. Gentle wiping paired with thorough drying often removes residue without harming the finish.

Handling Mold and Moisture Problems

Areas exposed to humidity may occasionally develop mildew around grout lines or in spaces where water lingers too long. While the staining may look severe, it can often be treated safely with mild cleaning methods.

A soft brush paired with gentle soap can remove surface buildup without scratching the tile. After cleaning, the area should be rinsed carefully so residue does not remain behind. Allowing airflow into the space afterward helps the surface dry more completely.

Prevention plays a major role here. Moisture that remains trapped near the tile creates the conditions mildew needs to return. Improving ventilation often reduces recurring problems significantly.

Why Proper Sealing Makes Such a Difference

Sealing is one of the most important parts of long-term cement tile maintenance because it slows the rate at which moisture enters the surface. A strong sealant gives homeowners more time to clean spills before stains settle into the tile.

Over time, that protective layer naturally wears down. One common sign of weakening sealer appears when water immediately darkens the tile instead of resting near the surface. If this happens, resealing may be necessary to restore protection.

Many homeowners speak with a cement tile company before selecting maintenance products because different finishes may require different sealers. Using the wrong product can alter the appearance of the tile or create uneven absorption.

Common Cleaning Mistakes That Cause Damage

The biggest cleaning mistakes usually happen when people panic over a stain and reach for the strongest product they can find. Heavy chemical cleaners may fade pigments beneath the surface while also weakening the protective seal.

Rough scrubbers create problems as well because they gradually wear away the finish. Steam cleaning may also force moisture beneath the surface if the tile is exposed to excessive heat for too long.

Cement tile responds better to steady care than aggressive treatment. Gentle cleaning performed consistently tends to preserve the beauty of the tile far more effectively over time.

Preventing Stains Before They Become Permanent

Good maintenance habits often matter more than stain removal itself. Cleaning spills quickly gives the tile less opportunity to absorb moisture. Regular sweeping also prevents dirt from grinding against the surface and slowly wearing down the sealant.

Drying damp areas can make a noticeable difference in spaces exposed to frequent moisture. Even simple habits performed consistently help preserve the original appearance of the tile.

Understanding safe ways to clean stains from cement tile without causing surface damage allows homeowners to protect the handcrafted look that makes cement tile feel timeless rather than trendy.

Keeping Cement Tile Looking Beautiful for Years

Cement tile is meant to age with character, though that does not mean stains should simply become part of the surface. Proper cleaning methods allow the tile to maintain its warmth and depth without sacrificing the natural finish that gives it personality.

Most stains can be removed successfully when treated early and handled carefully. Gentle products usually provide better long-term results because they protect the sealer instead of stripping it away. Consistent maintenance also reduces the need for stronger treatments later.

Whether cement tile appears in a quiet residential space or inside a busy hospitality setting, thoughtful care helps preserve its handcrafted beauty for decades. With the right approach, homeowners can keep these surfaces looking rich and inviting without causing unnecessary damage during the cleaning process.

The Right Way to Prep and Paint Breeze Blocks

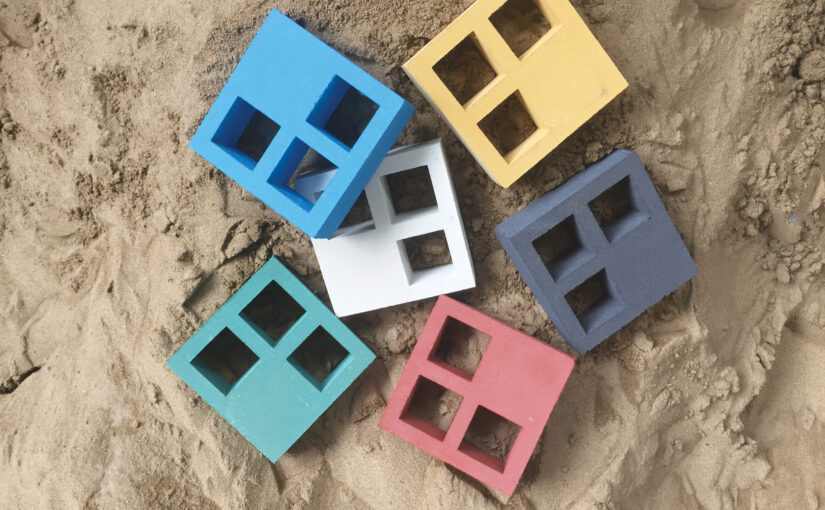
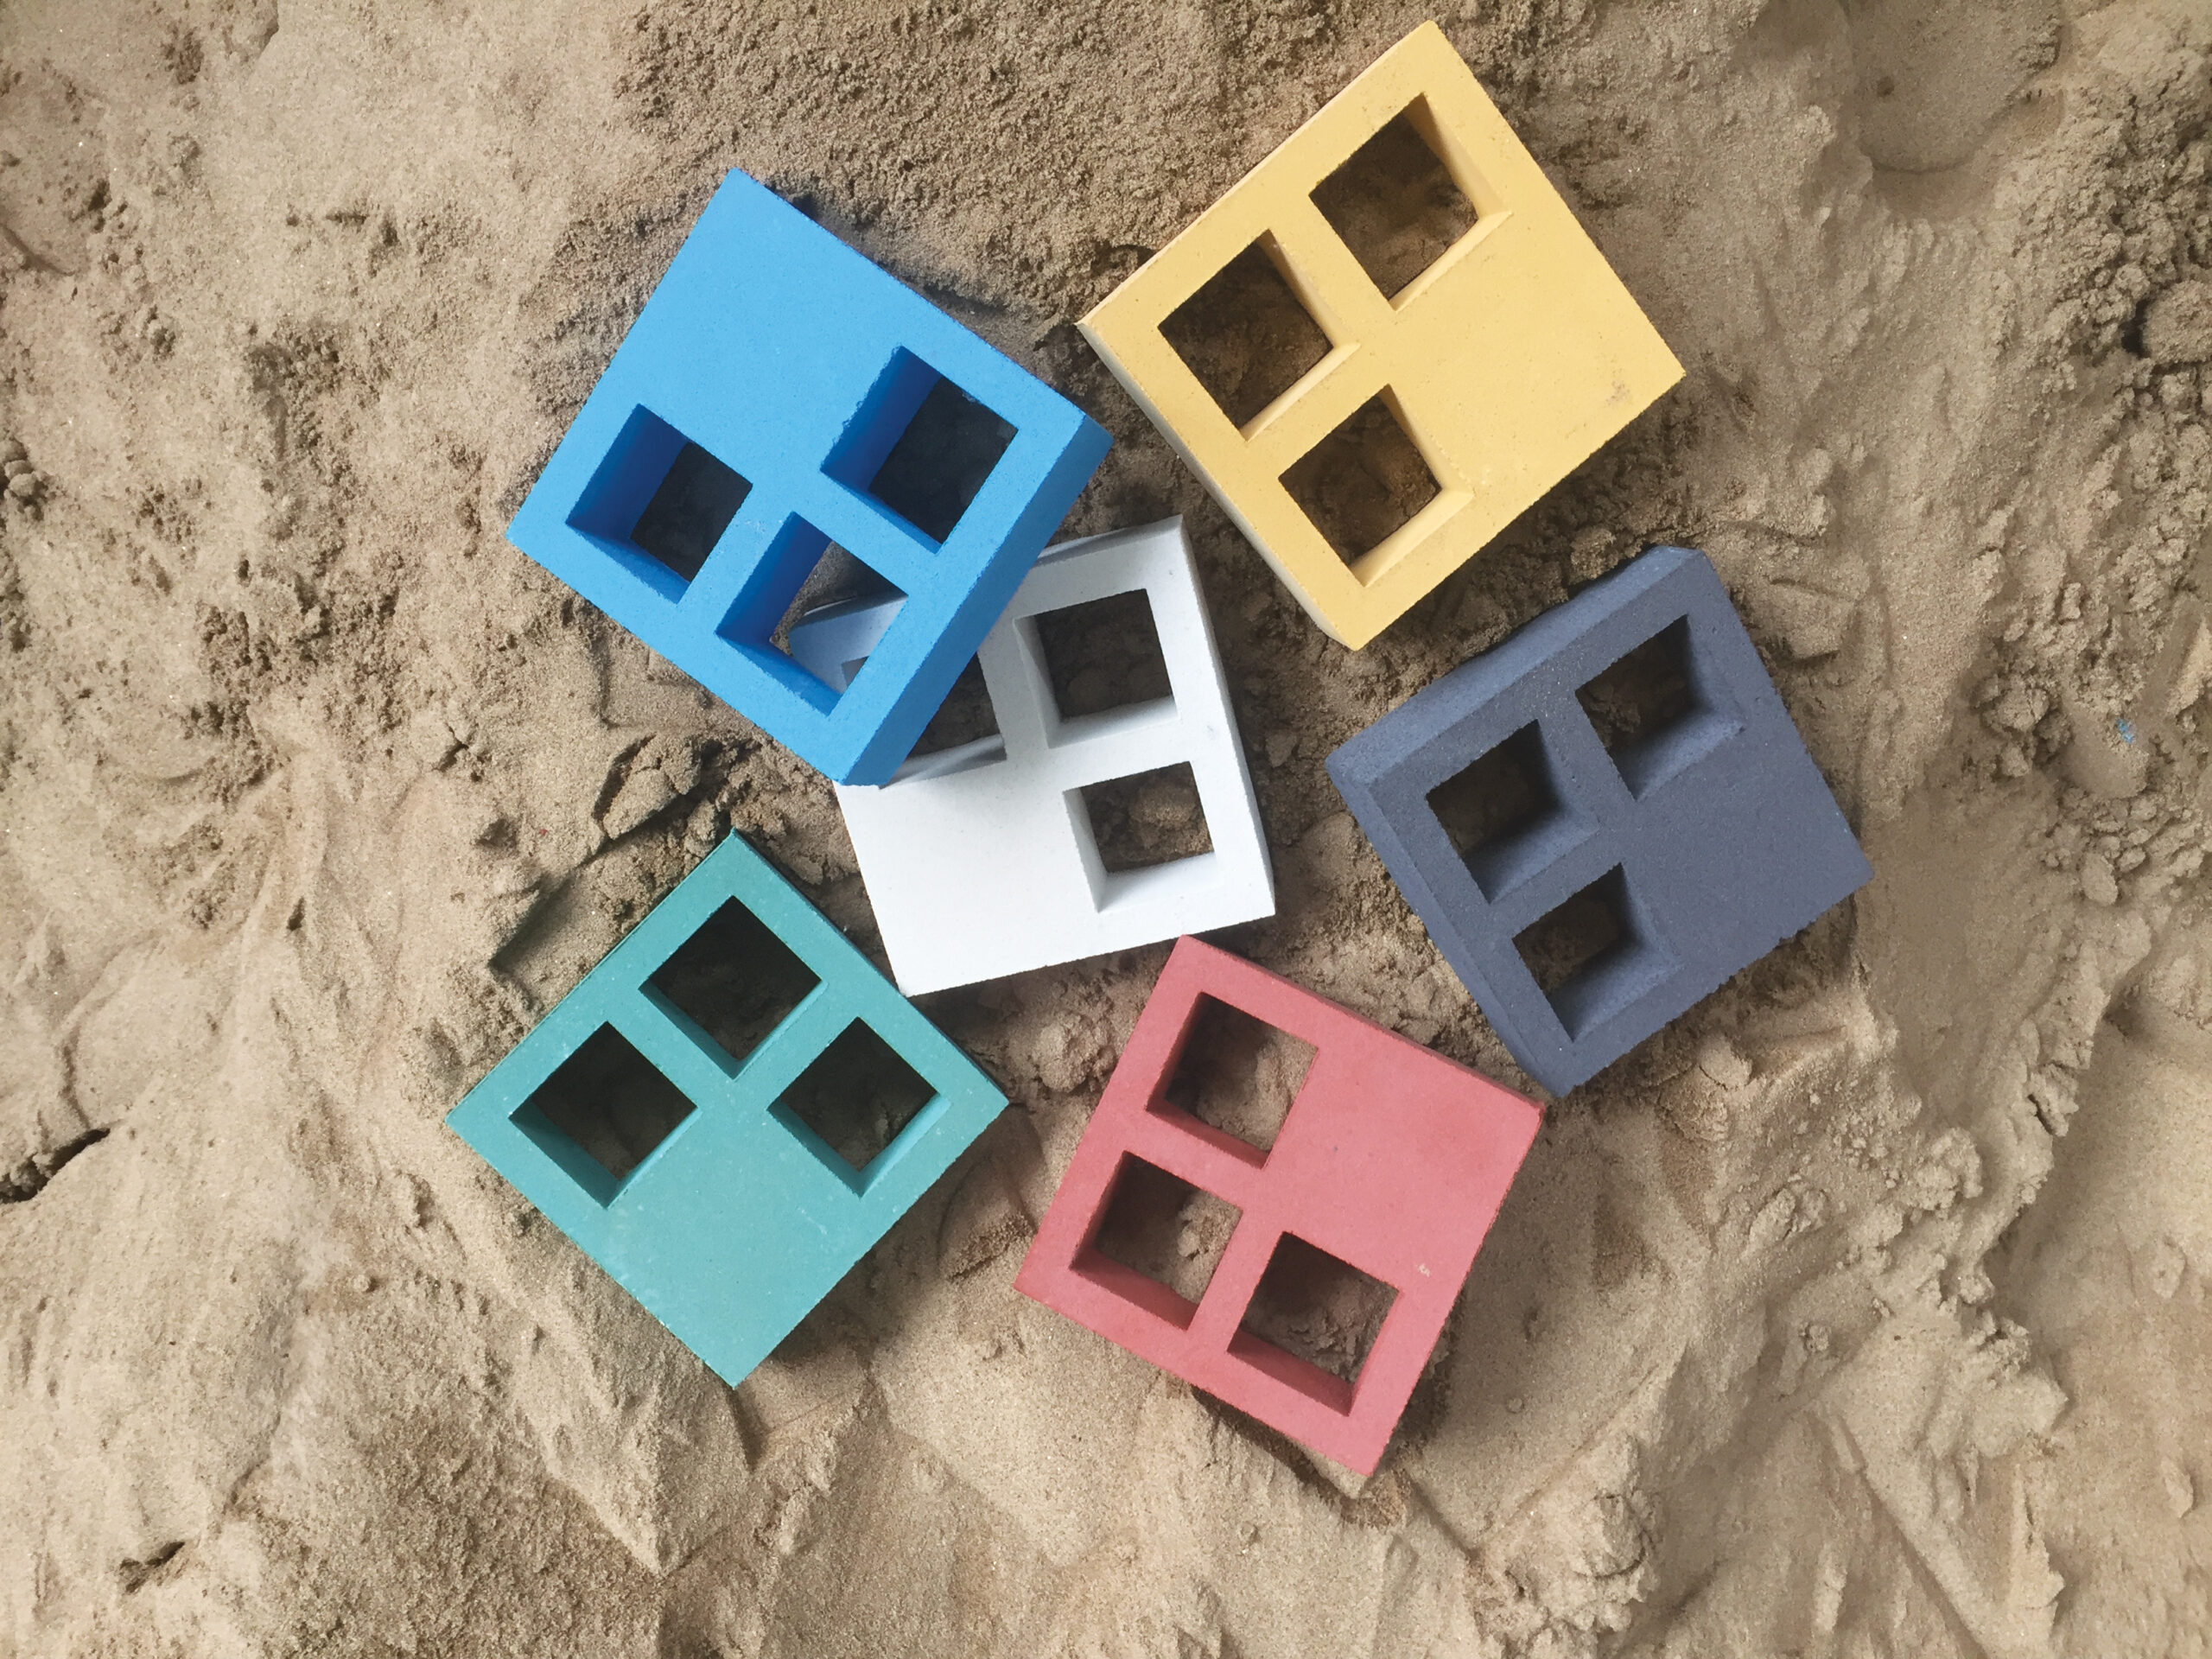
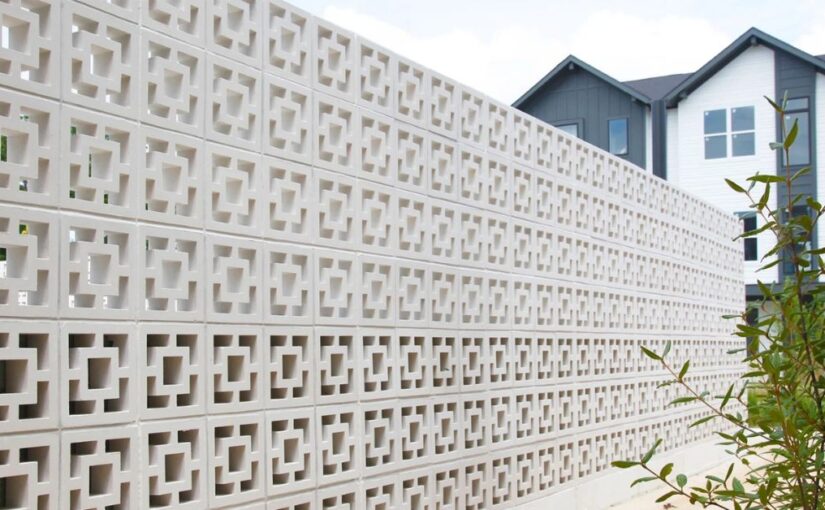
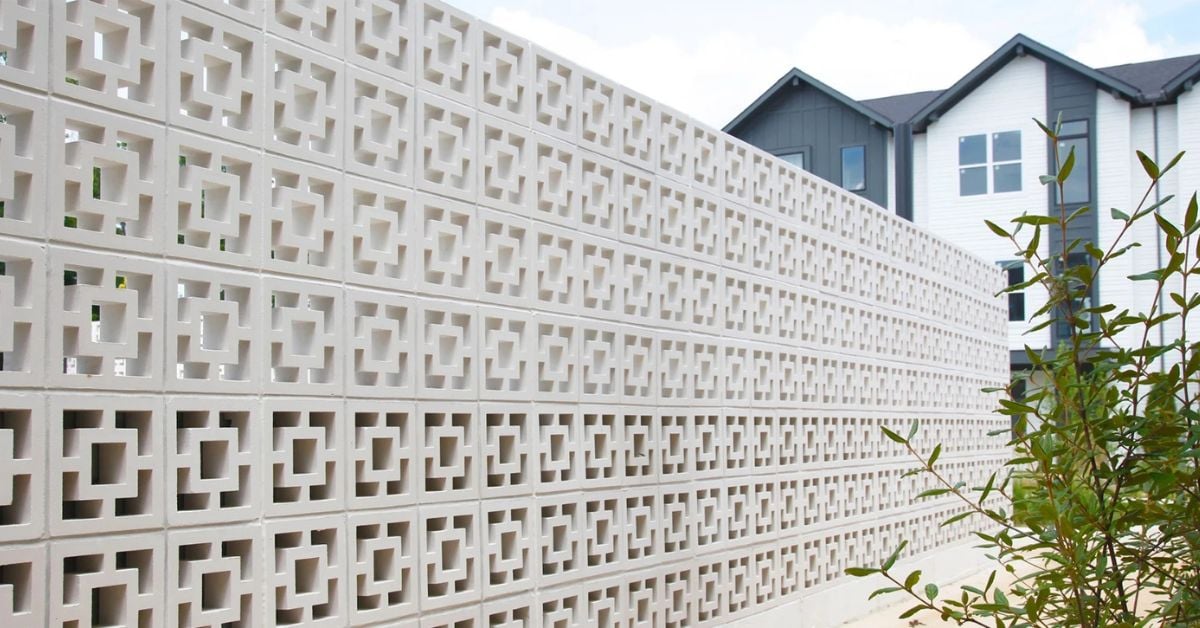
Breeze blocks have a way of stealing the show. Their sculptural cutouts, graphic shadows, and mid-century charm make them a favorite for designers working on residential and hospitality spaces alike. But when it comes to painting them, a quick coat and a roller simply won’t do. Knowing the right way to prep and paint breeze blocks is what separates a crisp, architectural finish from a patchy, peeling mess. If you’re refreshing an existing installation or customizing blocks for a new project, here’s how to do it the right way.

Why Proper Prep Matters

Breeze blocks are typically made from cement or concrete, which means they’re porous by nature. That porosity is part of their beauty, but it also means they absorb moisture and paint differently than smooth drywall or wood.

If the surface isn’t cleaned and sealed correctly, paint can soak in unevenly, leading to blotchy color and premature chipping. In exterior applications, skipping prep can also trap moisture inside the block. Over time, that leads to cracking and surface damage.

In short, prep isn’t optional. It’s the foundation of a professional result.

Step One: Start With a Thorough Cleaning

Before you even think about primer, the surface must be completely clean. Breeze blocks collect dust, dirt, and construction residue in their openings and textured surfaces. Exterior installations may also have mildew or mineral buildup.

Use a stiff-bristle brush to loosen debris. For deeper cleaning, a mild detergent mixed with water works well. In exterior settings, a gentle pressure wash can be helpful, but avoid aggressive settings that could damage edges.

Allow the blocks to dry fully before moving to the next step. Because concrete holds moisture, this may take longer than expected. Painting over damp blocks can cause bubbling and adhesion problems later.

Step Two: Repair Imperfections

Once clean and dry, inspect the blocks carefully. Look for hairline cracks, chips along the edges, or uneven mortar joints.

Small cracks can be filled with a masonry patching compound. Use a putty knife to smooth the surface and let it cure according to manufacturer directions. If mortar joints are crumbling, they should be repaired before painting.

The goal is to create a stable, uniform surface. Paint will not hide structural flaws. It will only highlight them.

The Right Way to Prep and Paint Breeze Blocks

Step Three: Apply a Masonry Primer

Concrete and cement surfaces require a primer designed specifically for masonry. This step seals the porous surface and creates an even base for paint to adhere to.

Choose a high-quality bonding primer labeled for concrete or cement block. For exterior applications, make sure it is rated for outdoor use and offers moisture resistance.

Apply primer with a brush to reach into the decorative cutouts. A small roller can help cover flat faces more efficiently, but breeze blocks demand patience. Their curves and openings require careful attention.

Allow the primer to dry completely before applying paint. Skipping proper drying time is one of the most common mistakes in this process.

Choosing the Right Paint

Not all paint performs well on masonry. For designer cement blocks, durability and breathability matter.

Acrylic latex paint formulated for exterior masonry is typically the best choice, even for interior installations. It adheres well, resists cracking, and allows moisture vapor to escape. That breathability helps prevent blistering over time.

For outdoor breeze block walls, consider paint with built-in UV resistance. Sun exposure can fade color quickly, especially in bright white or saturated hues.

Finish also plays a role. A satin or low-sheen finish highlights the dimensional qualities of the block without emphasizing surface irregularities. High-gloss finishes tend to draw attention to texture in ways that may feel harsh.

Step Four: Apply Paint With Care

When painting breeze blocks, technique matters just as much as product selection.

Use a high-quality angled brush to work paint into corners and detailed openings. A small roller can be used for larger flat surfaces, but it should not replace brushing entirely. Spray applications can work in some cases, particularly for new installations, but they require masking surrounding areas carefully.

Apply paint in thin, even coats. Thick layers may drip or pool in the cutouts, which can soften the crisp geometry that makes breeze blocks so striking. Two lighter coats typically provide better coverage and a longer-lasting finish than one heavy application.

Allow adequate drying time between coats. Rushing this step can compromise adhesion and durability.

Interior vs. Exterior Considerations

Painting breeze blocks indoors offers more flexibility. Climate control reduces moisture concerns, and color choices can lean bold without worrying about UV exposure.

Exterior installations require more planning, as temperature and humidity affect drying time and overall performance. Avoid painting in direct midday sun or during rainy conditions; ideally, choose a mild, dry day with stable temperatures.

In coastal environments, salt air can be particularly harsh on exterior finishes. Selecting high-performance paint and primer products is especially important in these settings.

Color Strategy for Breeze Blocks

Because breeze blocks create pattern through shadow and light, color interacts differently than it does on flat walls. Light tones emphasize form and allow shadows to stand out dramatically throughout the day.

Darker shades create a more solid, graphic look. They reduce shadow contrast and can make the installation feel bold and modern.

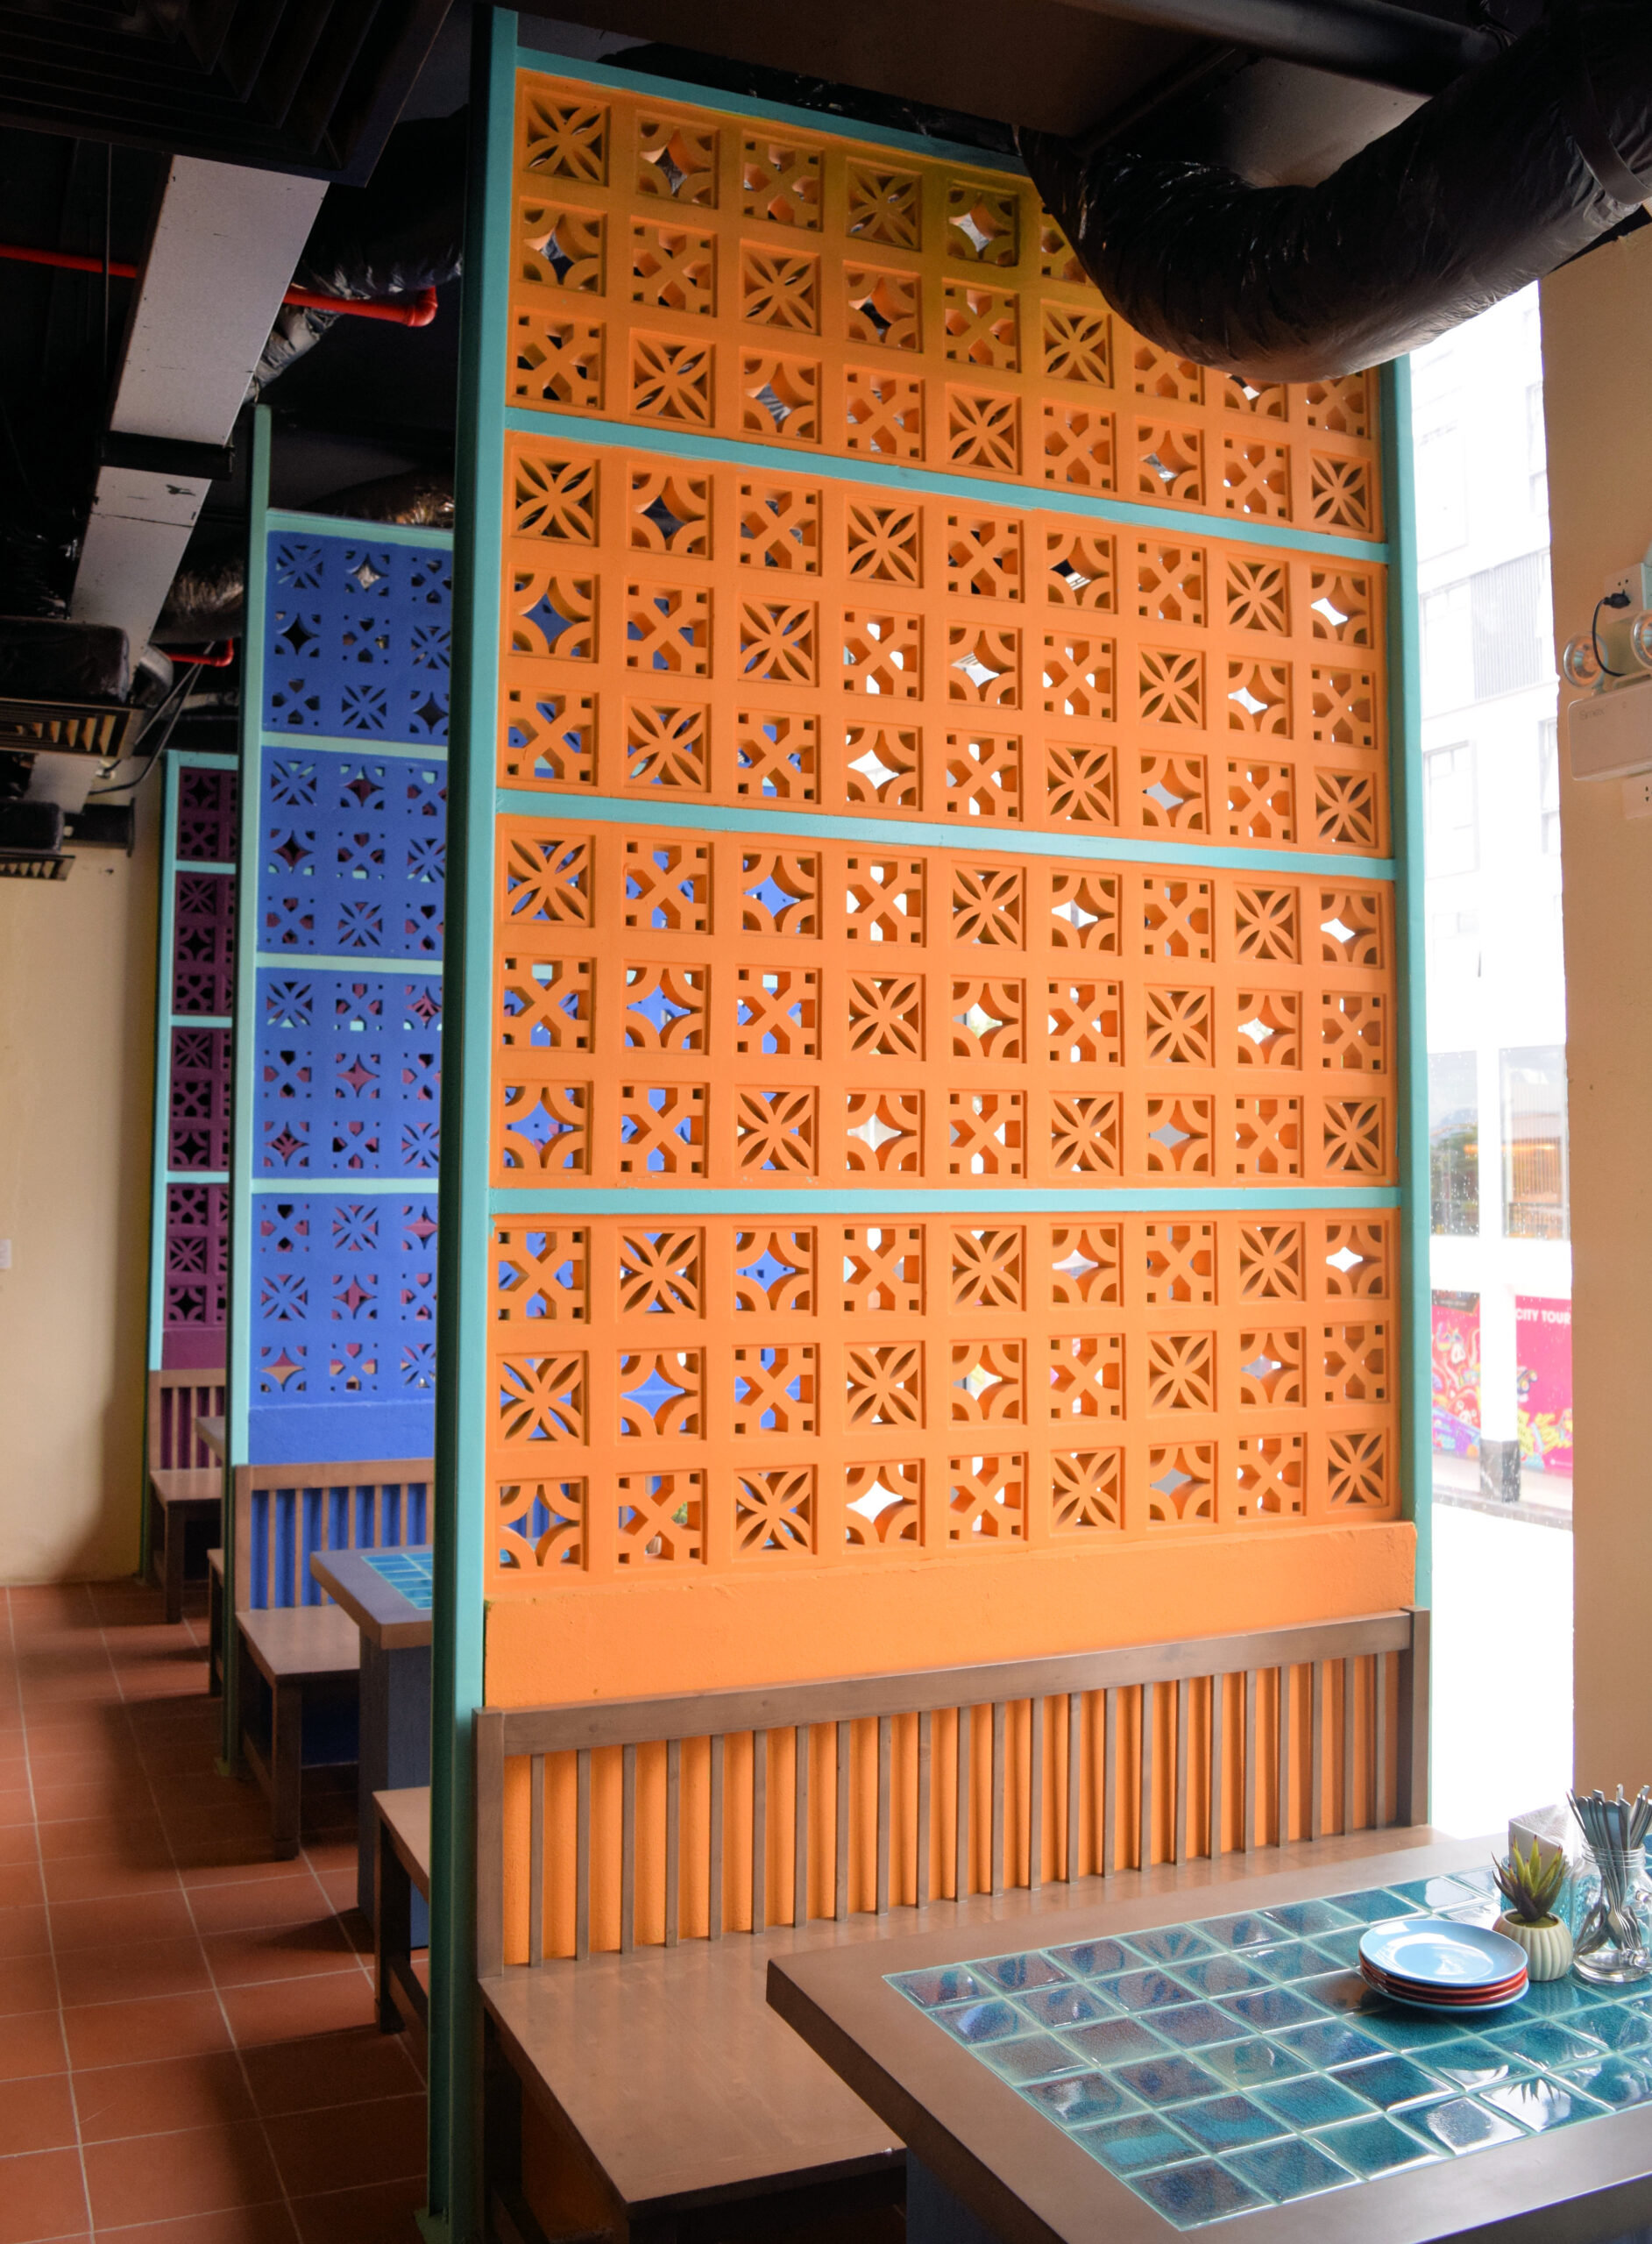
For hospitality spaces or statement walls, designers often use breeze blocks as sculptural backdrops. In these cases, paint color should coordinate with surrounding materials, including tile, flooring, and furnishings.

When working alongside patterned surfaces such as cement tiles, consider how color repetition or contrast will affect the overall composition. The blocks should feel intentional, not disconnected from the larger design story.

Maintaining Painted Breeze Blocks

Even with proper prep and high-quality materials, painted masonry requires maintenance over time.

Regular cleaning with mild soap and water helps prevent buildup that can dull the finish. Avoid harsh chemical cleaners that may strip or discolor paint.

Inspect exterior blocks annually for signs of cracking or peeling, and touch up small areas promptly to prevent moisture intrusion. With the right care, a painted breeze block installation can maintain its fresh look for years.

When to Consider a Different Finish

In some cases, painting may not be the ideal solution. If the natural texture and tone of the concrete complement the design, sealing the blocks instead of painting them can preserve their raw character.

Specialty masonry stains are another option. They penetrate the surface rather than forming a film on top, resulting in a more natural, mineral-based appearance.

The decision ultimately depends on the design goal. Paint offers bold customization, while sealers and stains highlight the inherent beauty of the material itself.

Bringing It All Together

Breeze blocks are architectural elements first and decorative accents second. Their dimensional structure demands thoughtful treatment.

Taking the time to clean, repair, prime, and apply paint properly ensures that the final result looks polished rather than improvised. The difference shows in the crispness of the edges, the evenness of the color, and the longevity of the finish.

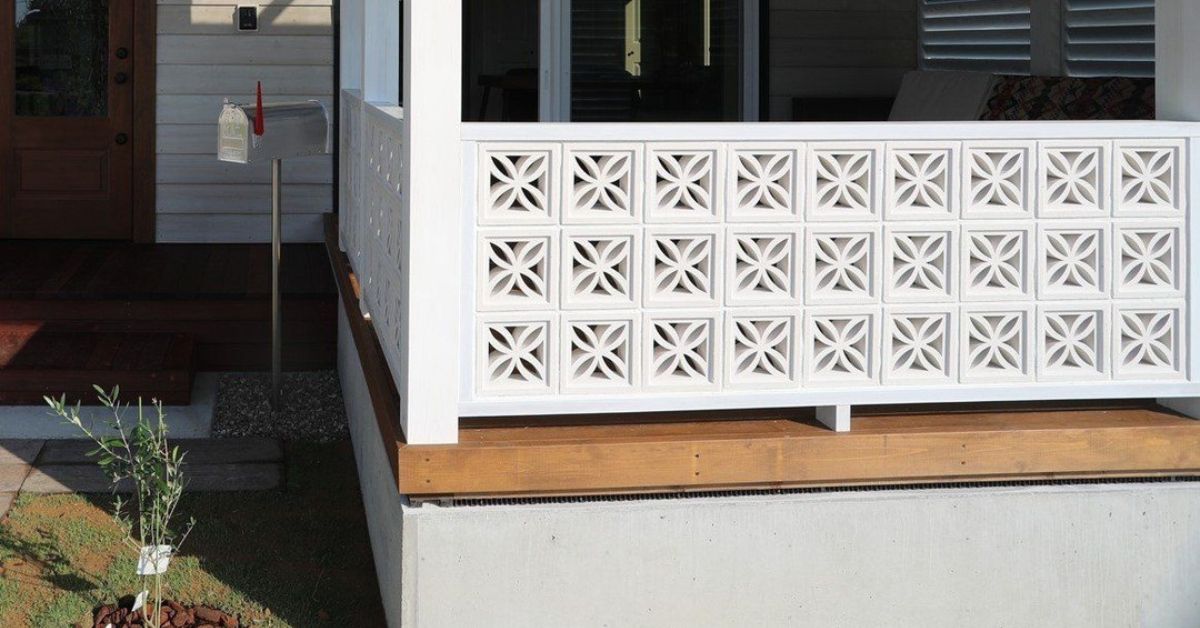
Whether used as a privacy screen, feature wall, or exterior façade, knowing how to properly prep and paint breeze blocks can transform a space. With the right preparation and materials, they maintain their sculptural presence while gaining a fresh layer of personality.

Noise Reduction Strategies Using Decorative Cement Blocks

Noise Reduction Strategies Using Decorative Cement Blocks

Excessive noise pollution is an increasingly common challenge in today’s urban environments, affecting homes, offices, and public spaces. Whether it’s the sound of bustling traffic, nearby industrial work, or even loud neighbors, noise can disrupt daily activities and diminish your quality of life. One innovative, eco-friendly, and aesthetically pleasing solution to this problem is the use of decorative cement blocks. These versatile materials are not only practical for noise reduction but also provide architectural charm to any property. Whatever the cause of unwelcome noise may be, keep in mind some noise reduction strategies using decorative cement blocks so that you can control the sound levels in your home.

Continue reading Noise Reduction Strategies Using Decorative Cement Blocks

How Durable Are Encaustic Concrete Tiles?

How Durable Are Encaustic Concrete Tiles?

Encaustic concrete tiles have become a timeless choice in both modern and traditional interior design. Known for their intricate patterns, vibrant colors, and versatile applications, these tiles have gained immense popularity over the years. However, a common question among homeowners and designers is whether encaustic concrete tiles are as durable as they are beautiful. Durability is a key factor when considering tiles for high-traffic areas or spaces subject to wear and tear. If you’re considering using the material but are unsure of its durability, learning how durable encaustic concrete tiles are can help you rest assured that you’re making the right choice.

Continue reading How Durable Are Encaustic Concrete Tiles?

Big Joy in Tiny Tiles

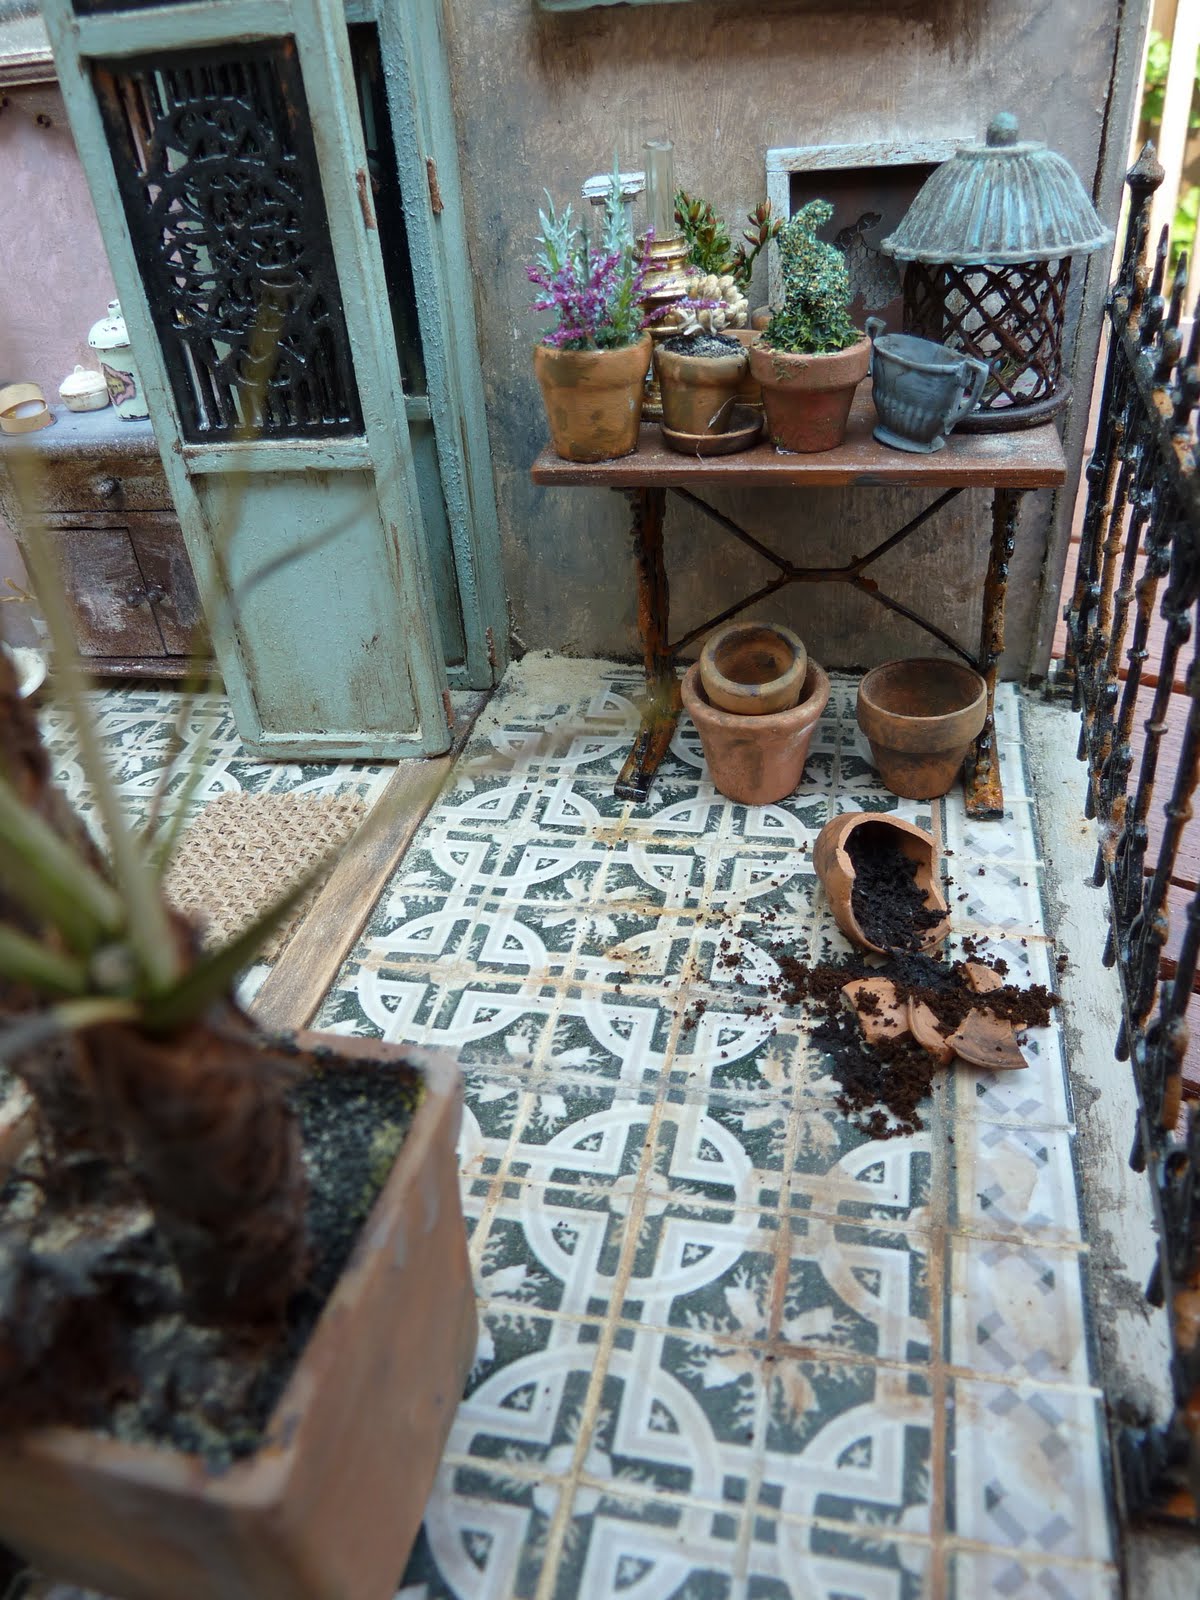
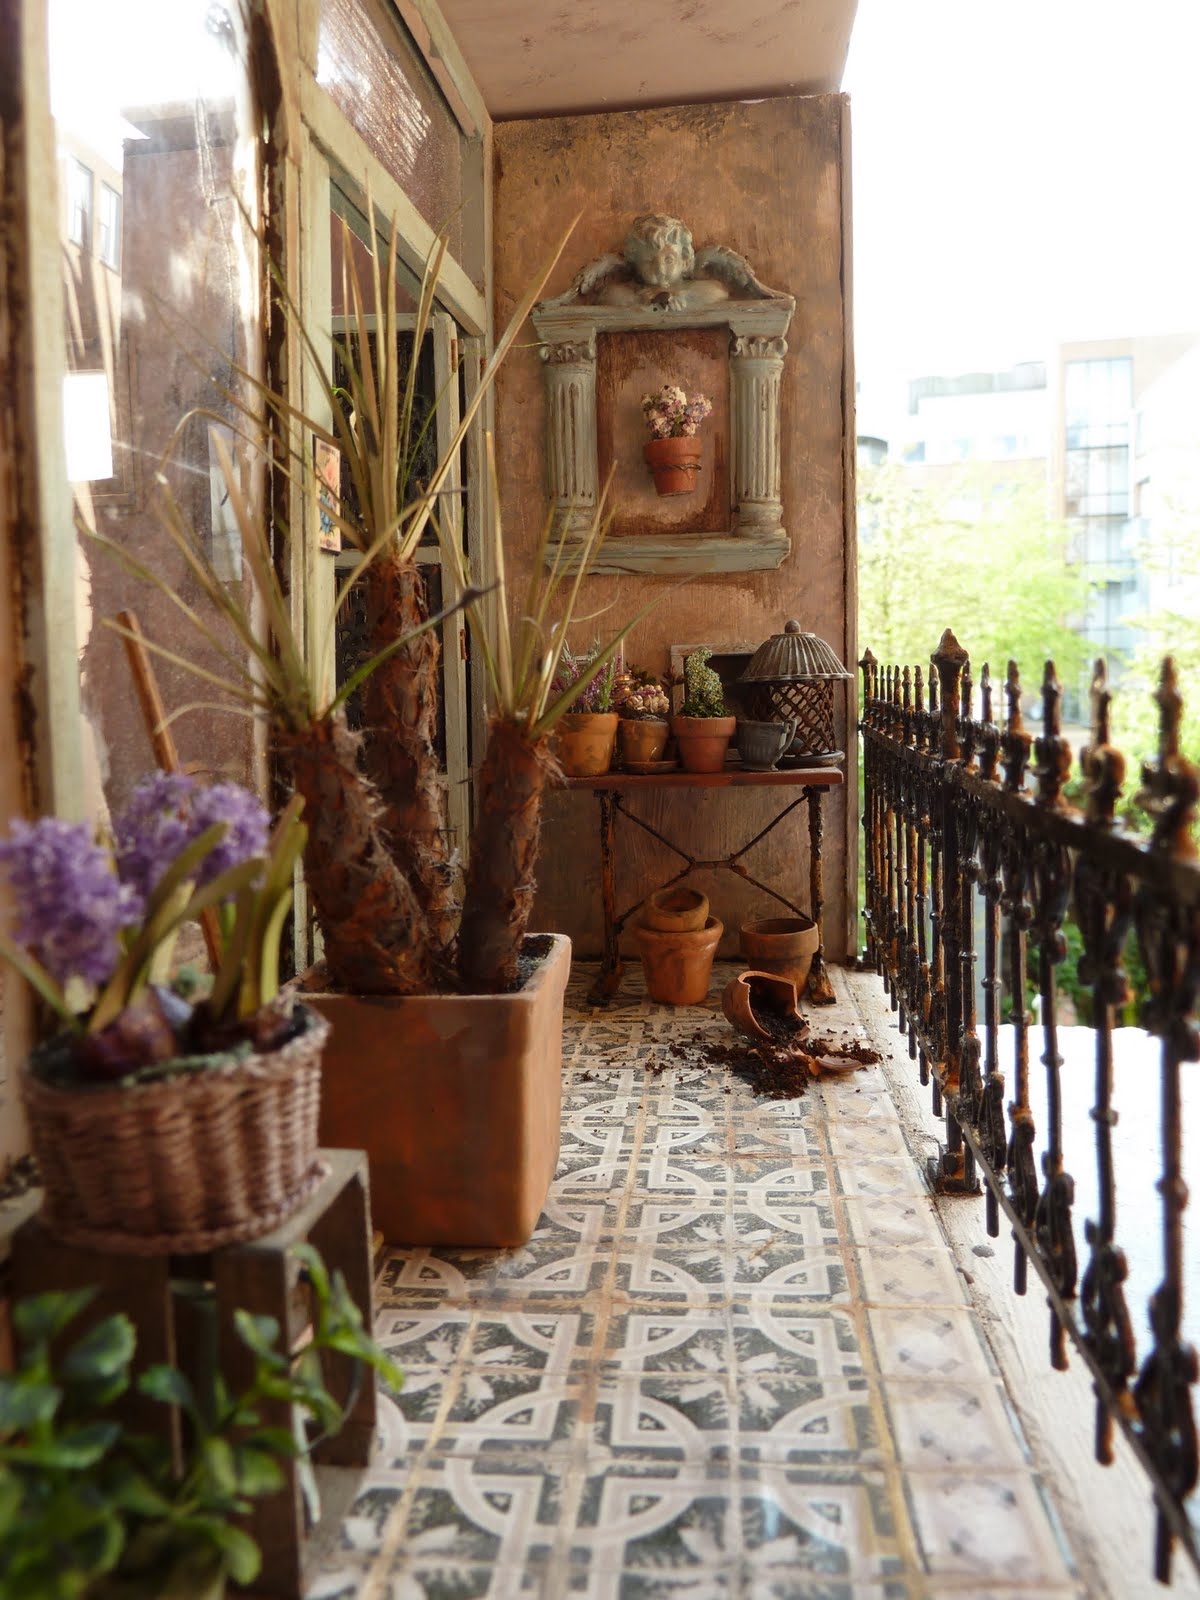
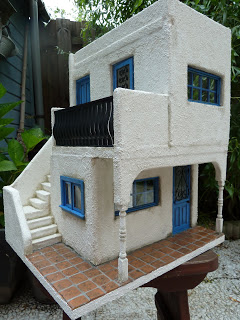
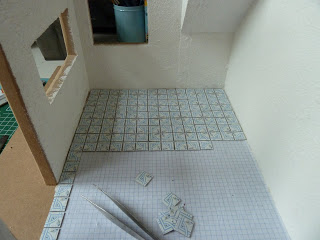
Villa Lagoon Tile’s patterns adorn some of the most charming miniature rooms.  Sylvia de Groot, a highly skilled Dutch artist of charming scale model rooms and chateaux uses our Villa Lagoon Tiles Coastal Collection in many of her projects..

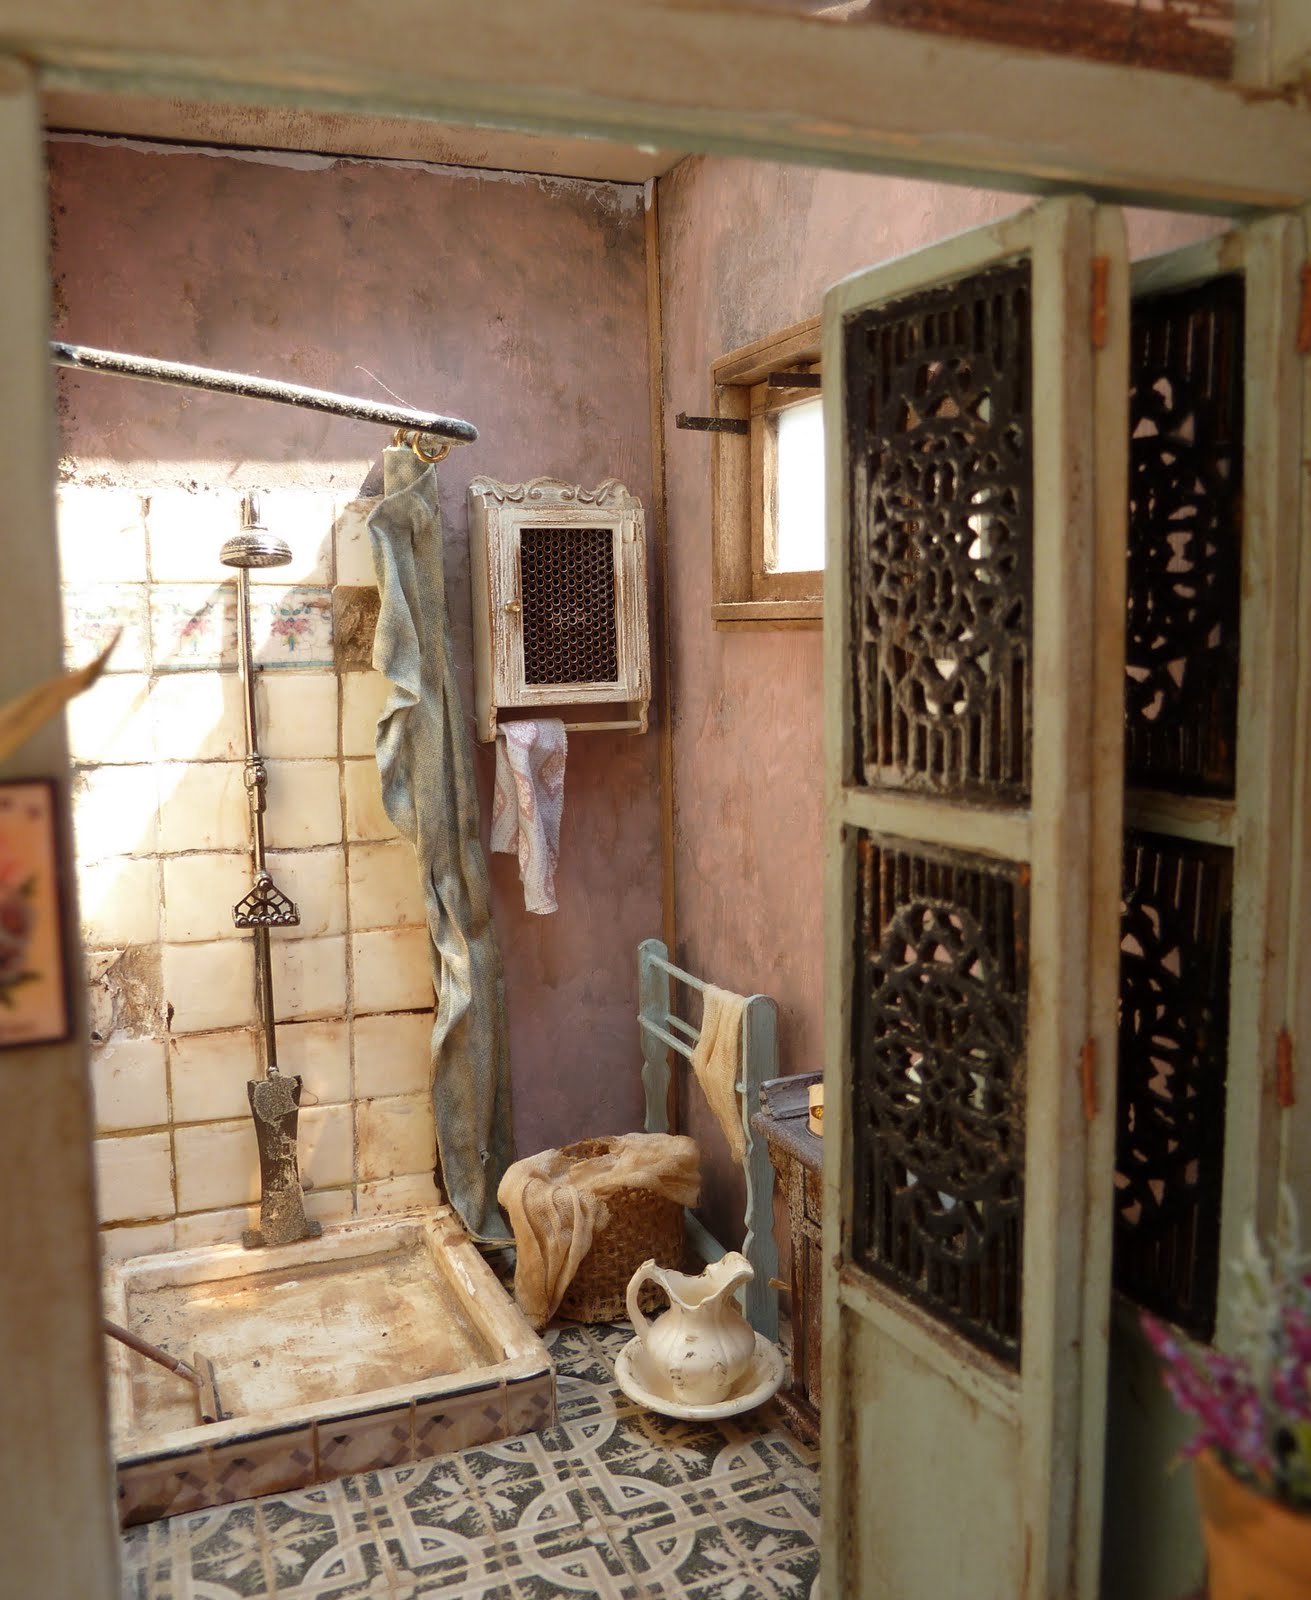
Her Chambre de Séraphine has a balcony and bathroom floor of our Trapani “Midnight”. This tile is a Villa Lagoon Tile exclusive and was originally designed by Lundy Wilder for a master bedroom floor.

Villa Lagoon Tile's "Trapani Midnight", reproduced in miniature.

Villa Lagoon Tile's "Trapani Midnight", reproduced in miniature.


The potting bench on the balcony has a bit of spilled dirt but this bathroom does look like it needs a good scrubbing !

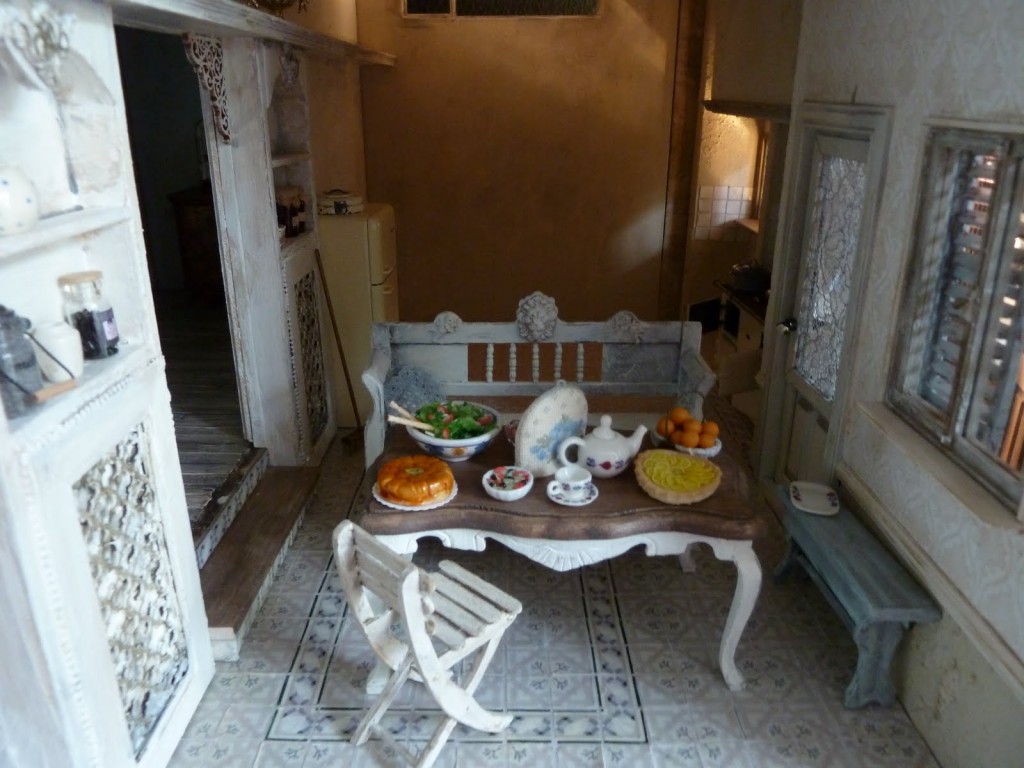
Villa Lagoon Tile's "Trapani Midnight", reproduced in miniature.Another room has tiny tiles of our exclusive Italian Trellis pattern in Taupe and a border tile of Shell Trellis

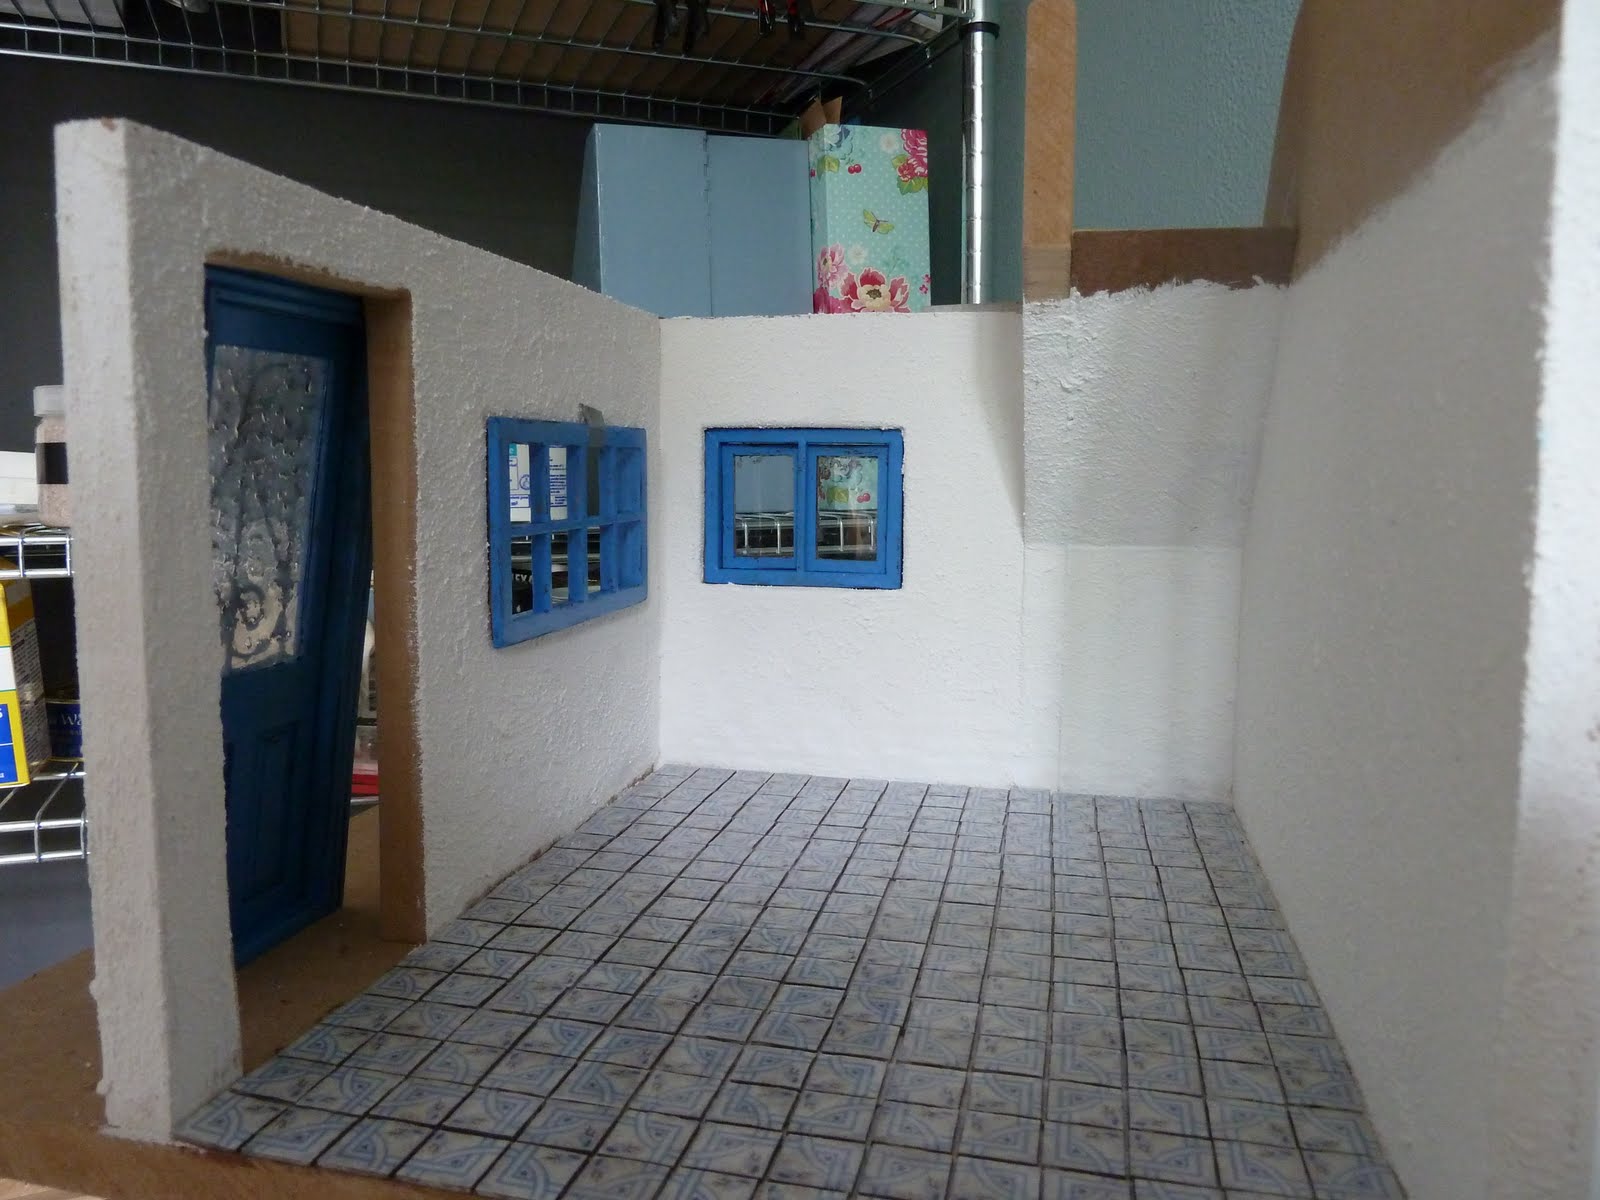
Villa Lagoon Tile's "Trapani" in "Azul Frost", reproduced in miniature.

Another project, a little Greek house has our Trapani tile in the “Azul Frost”.

 A miniature home, with reproduced Villa Lagoon Tile.

Villa Lagoon Tile's "Trapani" in Azul Frost, reproduced in miniature.


Villa Lagoon Tile's "Trapani", reproduced in miniature.


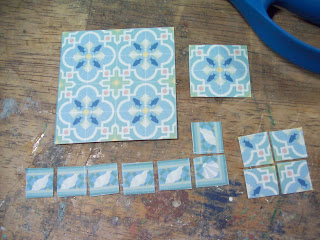
Back in 2011 ago Kathi Laugherty let us know that she was using our tile in one of her scale model projects.

She cut each VLT exclusive Savona “Beachtile individually and wrote about it on her blog post.

Villa Lagoon Tile's "Savona Beach", reproduced in miniature.


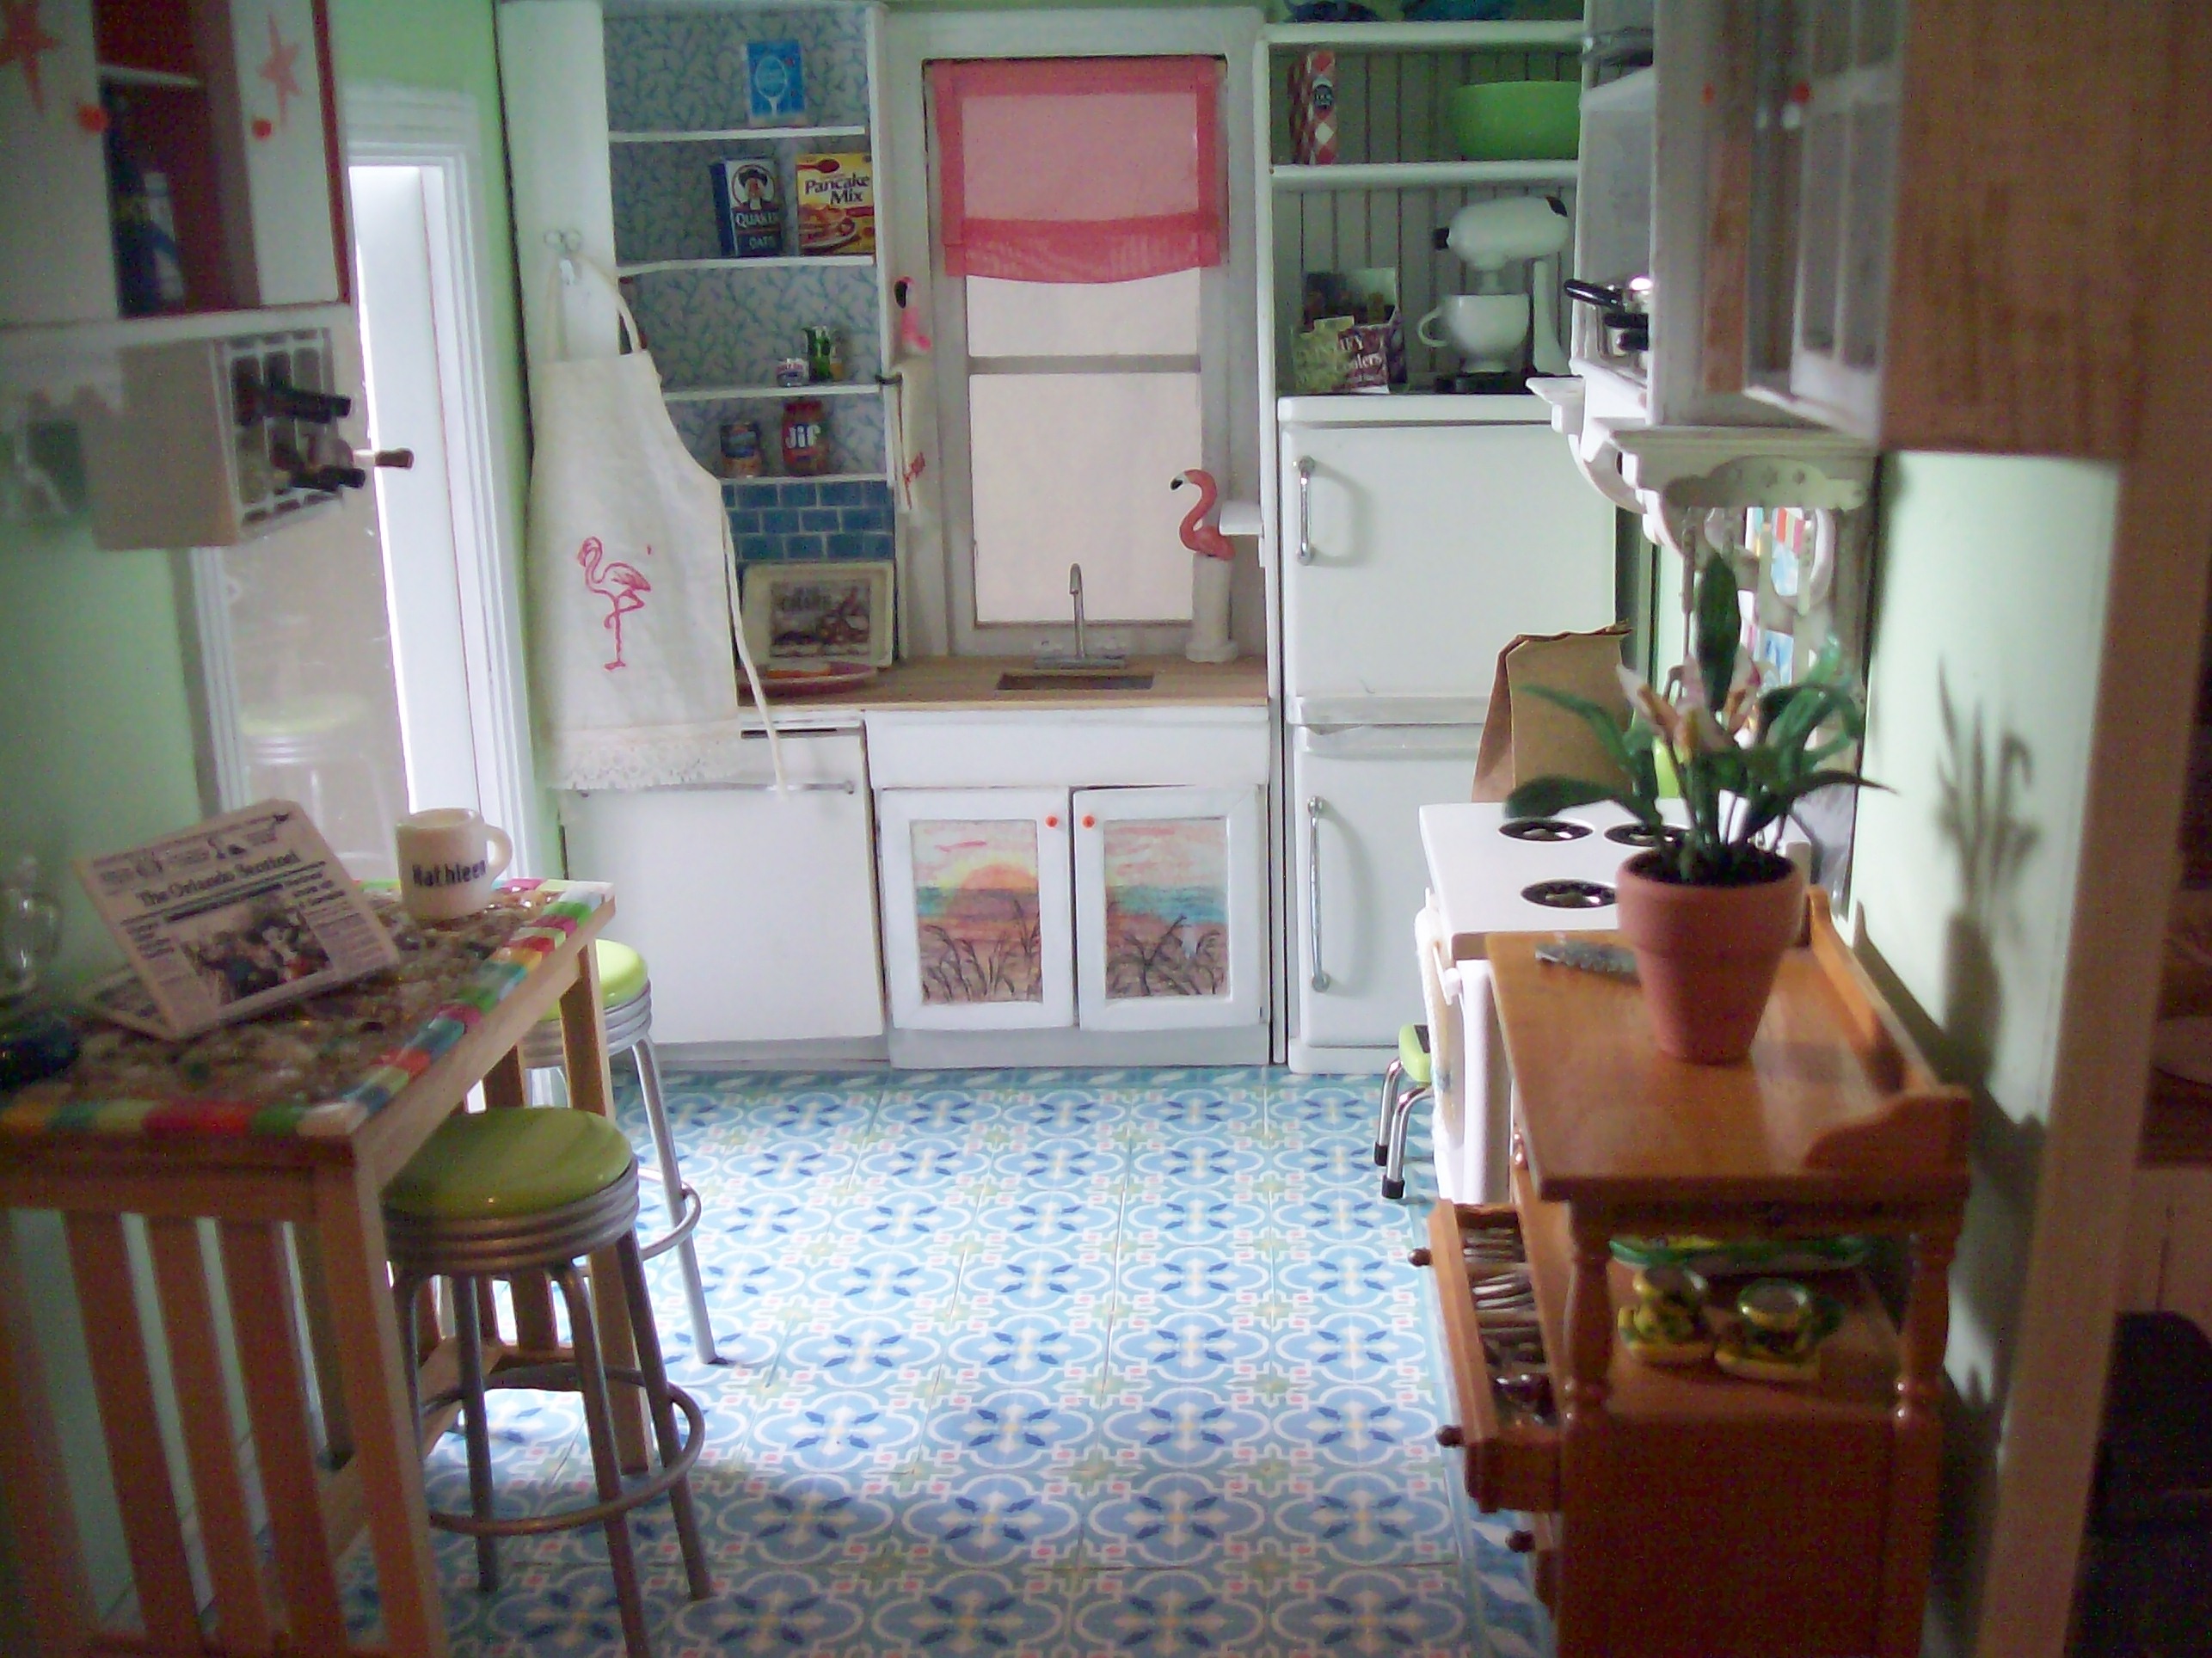
Her mini beach house kitchen looks wonderfully cozy and whimsical. Villa Lagoon Tile's "Savona Beach", reproduced in miniature.

Villa Lagoon Tile's "Savona Beach", reproduced in miniature.

We are delighted that miniaturists like our tile for their projects. If you know of others, please drop us an email.

Villa Lagoon Tile on NPR ! Internet sales tax / small business

NPR-headphonesWe were so happy to have been interviewed by NPR’s David Greene of Morning Edition.
This brief nationally broadcast radio piece brought us thousands of new visitors to the website.
WE WELCOME ALL OUR NEW VISITORS !

And while we do not object to the concept of sales tax for Internet sales, we just hope some simple method of payment will be devised, something like Europe’s VAT. We have 3077 individual counties in the USA, all with individual sales tax rates. Whew!!

Tile Climbs to a Higher Resolution

Update: As of October 2015, we have discontinued advertising the ceramic and porcelain tile murals on our website, in order to tighten our focus on cement tile. For purchase inquiries, please contact us, and ask for Dave.


The original, September 2012 post:

Of course Villa Lagoon Tile is home to artist, designer and cement tile expert Lundy Wilder, but we also keep our eye on the future.  While we specialize in making it easy to bring the old-world charm and beauty of hand-made cement tile to your home or business, we love all beautiful tile, whether the techniques are old or new.

We are proud to announce our newest line of tile products: tile murals.  Thanks to advancements in materials and dye sublimation printing, we can produce beautiful and durable tile products with printed images…  painting reproduction, photographs, digital art, you name it!  Break that image across a large grid of tiles, and now you have a beautiful tile mural, limited only by your installation space.  Villa Lagoon Tile partner Dave Perry has made it his mission to study these processes and source the finest in materials and techniques to beautify your projects.

Our catalog of stock images for mural production is now available online, and debuts with more than 8,400 images.  Ranging from classics like Van Gogh’s Starry Nights and Da Vinci’s Mona Lisa to modern marvels such as shuttle launches and Times Square, you’ll be amazed at the variety.

Not enough for you?  We can use your own photographs, logos and art for truly custom tile murals!  Spread your company logo across the wall behind the reception desk, put images of your own restaurant’s menu items on an accent wall near the entrance, the possibilities are endless.  For questions, ordering or submitting your own work for custom murals, as always contact Villa Lagoon Tile, and ask for Dave.