The key to a flawless encaustic tile installation lies in thorough preparation. Unlike standard ceramic or porcelain tiles, encaustic tiles have unique characteristics that demand specific handling techniques and preparation methods. These tiles are porous, individually crafted, and often have slight variations in thickness and color that add to their authentic appeal.
Getting your installation right from the start will save you time, money, and frustration down the road. Whether you’re tackling this project yourself or working with a contractor, understanding the preparation process helps ensure your beautiful new tiles will look stunning and last for decades.
Let’s take a deep dive into precisely how to prepare for encaustic tile installation so you can get ready ASAP.
Getting to Know Encaustic Tiles
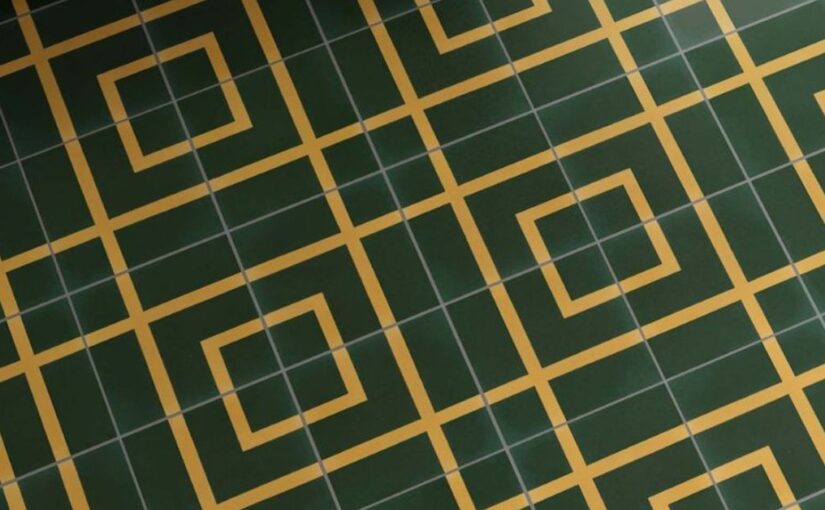
Encaustic tiles differ significantly from mass-produced ceramic tiles you might find at your local home improvement store. These artistic pieces are mixtures of cement, marble powder, and mineral pigments, pressed together to create intricate patterns that go all the way through the tile. This construction method means the design won’t wear away over time, even in high-traffic areas.
The handmade nature of encaustic tiles means each piece has its own personality. You’ll notice subtle variations in color intensity, slight differences in thickness, and occasional surface imperfections that contribute to their authentic, artisanal character.
These variations aren’t flaws but rather features that make your installation unique.
Understanding these characteristics helps you set realistic expectations and prepare for the special handling these tiles require. Their porous nature means they can absorb moisture and stains more readily than glazed tiles, making proper sealing essential.
The slight thickness variations also mean you’ll need to pay extra attention during installation to create a level surface.
Gathering Your Essential Tools and Materials
Knowing how to prepare for encaustic tile installation calls for learning all the supplies you will need to create a secure, stylish setup. Luckily, some of these you may already have in your toolbox.
Quality tools make the job easier and help ensure professional-looking results, while the right materials protect your investment and enhance the tiles’ natural beauty.
For tools, you’ll need a high-quality tile saw with a diamond blade specifically designed for cutting cement-based materials. A standard tile nipper won’t work well with encaustic tiles due to their density.
You’ll also want a notched trowel appropriate for your tile thickness, a rubber grout float, and clean sponges.
Essential Materials for Your Installation
Material selection is equally important. Choose a high-quality tile adhesive designed for cement tiles, as standard adhesives may not provide adequate bond strength. Your grout should be non-sanded if you’re working with tiles that have tight spacing, and sanded grout for wider joints.
Don’t forget tile spacers, though many installers prefer to hand-space encaustic tiles to accommodate their natural variations.
Most importantly, invest in a high-quality penetrating sealer specifically formulated for cement tiles. This sealer will protect your tiles from stains and moisture while allowing them to breathe naturally.

Preparing Your Surface for Success
The foundation of any great tile installation is a properly prepared substrate. Encaustic tiles are particularly unforgiving when it comes to substrate issues, so taking time to prepare your surface correctly is crucial for long-term success.
Start by ensuring your substrate is completely level, clean, and structurally sound. Even small imperfections in the substrate can telegraph through to the finished installation, creating an uneven surface that’s both unsightly and prone to cracking. Use a long straightedge to check for high and low spots, marking any areas that need attention.
Addressing Cracks, Moisture, & More
Repair any cracks, holes, or loose material before installation begins. Remove all dust, debris, and any previous adhesive residue. If you’re installing over concrete, make sure it’s fully cured and has the appropriate surface texture for good adhesive bonding. Smooth concrete may need to be roughened slightly to improve adhesion.
Moisture is another critical consideration. Test your substrate for moisture content and address any issues before proceeding. Excessive moisture can cause adhesive failure and may lead to efflorescence, a white chalky residue that can appear on tile surfaces. If moisture is present, you may need to install a moisture barrier or allow additional drying time.
Grouting for Long-lasting Beauty
Grouting encaustic tiles requires special care due to their porous nature. The grout you choose and how you apply it can significantly impact both the appearance and longevity of your installation.
Ensure your tiles are properly sealed if your sealer manufacturer recommends pre-grouting. You will need to apply some sealers before grouting to prevent grout staining, while others are eventually applied after the grout has fully cured.
Planning Your Tile Layout Strategy
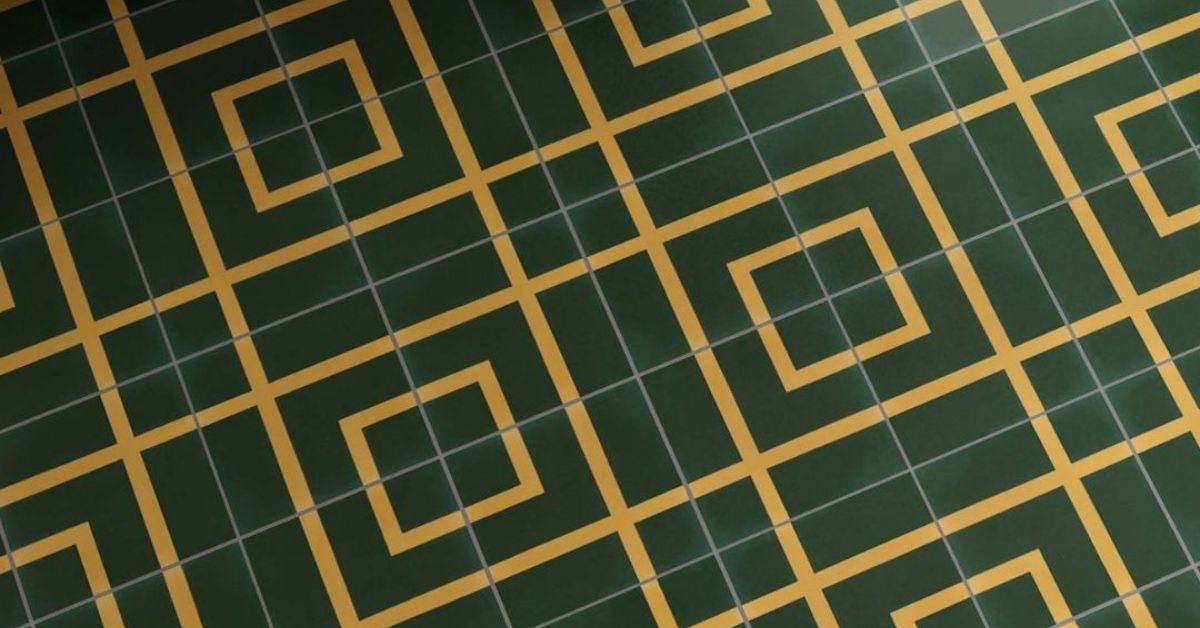
A lot of thought and preparation go into choosing the right supplies for your installation. Don’t worry; quality materials are easy to find online. For example, you can choose encaustic concrete tile from Villa Lagoon Tile if you need high-quality materials for your property right now. However, once you have your materials, it’s time to get creative and precise with your layout.
A well-planned layout can make the difference between a professional-looking installation and one that appears haphazard or amateur. Encaustic tiles often come in complex patterns that require careful consideration of how the design will flow throughout your space.
Begin by finding the center point of your room and establishing your starting lines. However, unlike standard tile installations, you may want to adjust these lines based on your specific pattern and room features. Consider how the pattern will look at doorways, around fixtures, and at room transitions.
Pay special attention to areas where you’ll need to cut tiles. Try to position your layout so that cut tiles are in less visible areas, and ensure that any cuts maintain the pattern’s integrity. Remember that cutting encaustic tiles requires more time and care than cutting standard ceramic tiles, so minimizing cuts can save significant installation time.

Embracing the Beauty of Your New Encaustic Tiles
Installing encaustic tiles is an investment in timeless beauty and craftsmanship.
The key to success lies in understanding and respecting the unique nature of these handcrafted tiles. From proper substrate preparation to careful sealing and maintenance, each step in the process contributes to the final result.
Take your time, follow proper procedures, and don’t hesitate to consult professionals when you encounter challenges beyond your comfort level.
Your newly installed encaustic tiles will become a conversation piece and a source of daily enjoyment. The patterns and colors that caught your eye in the showroom will come alive in your space, creating an atmosphere that’s both sophisticated and welcoming.