The Right Way to Prep and Paint Breeze Blocks

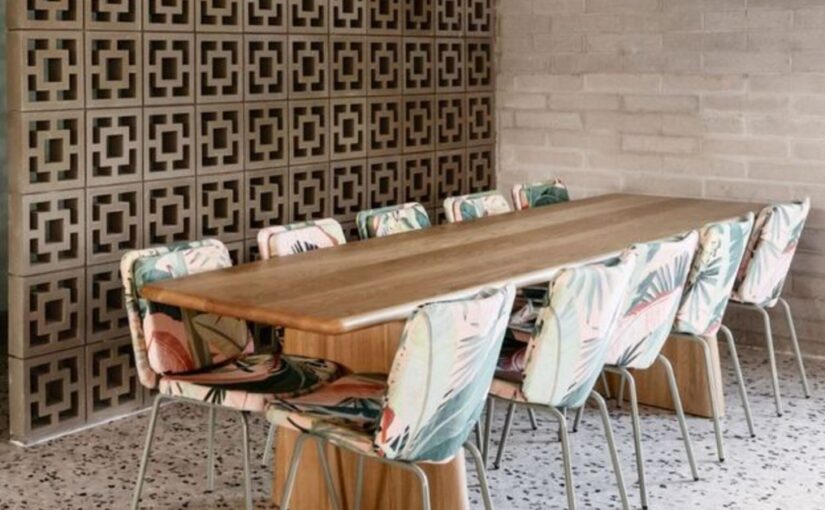
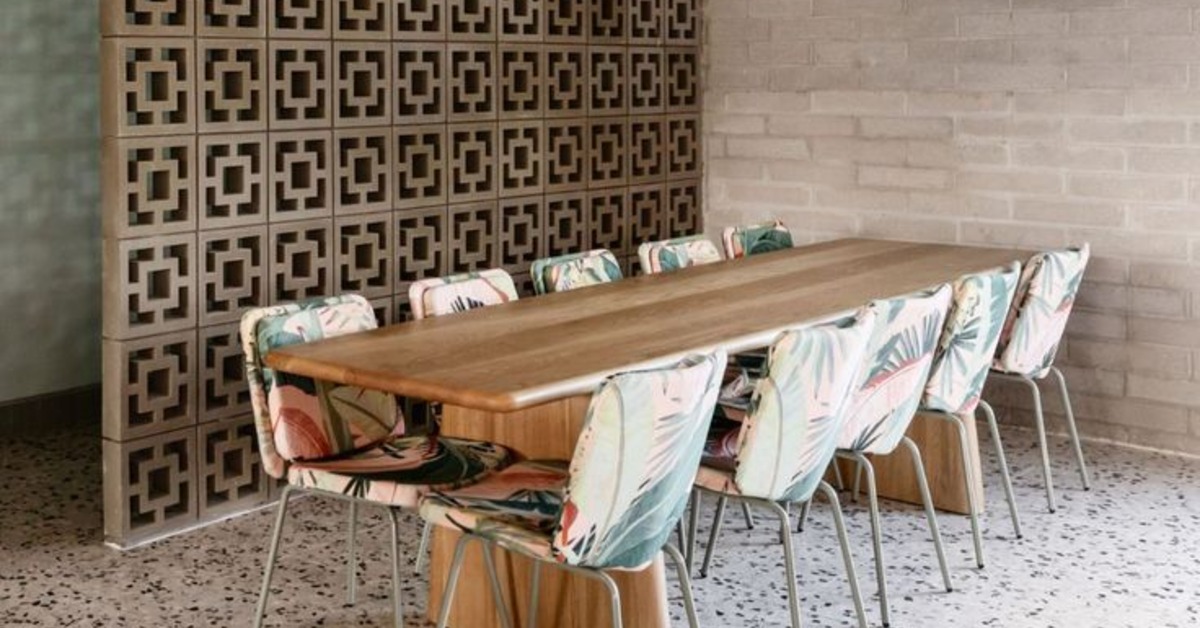
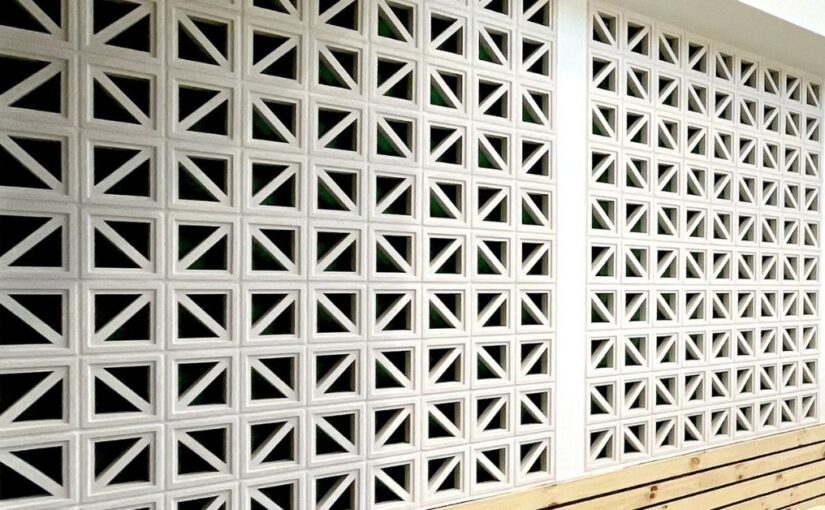
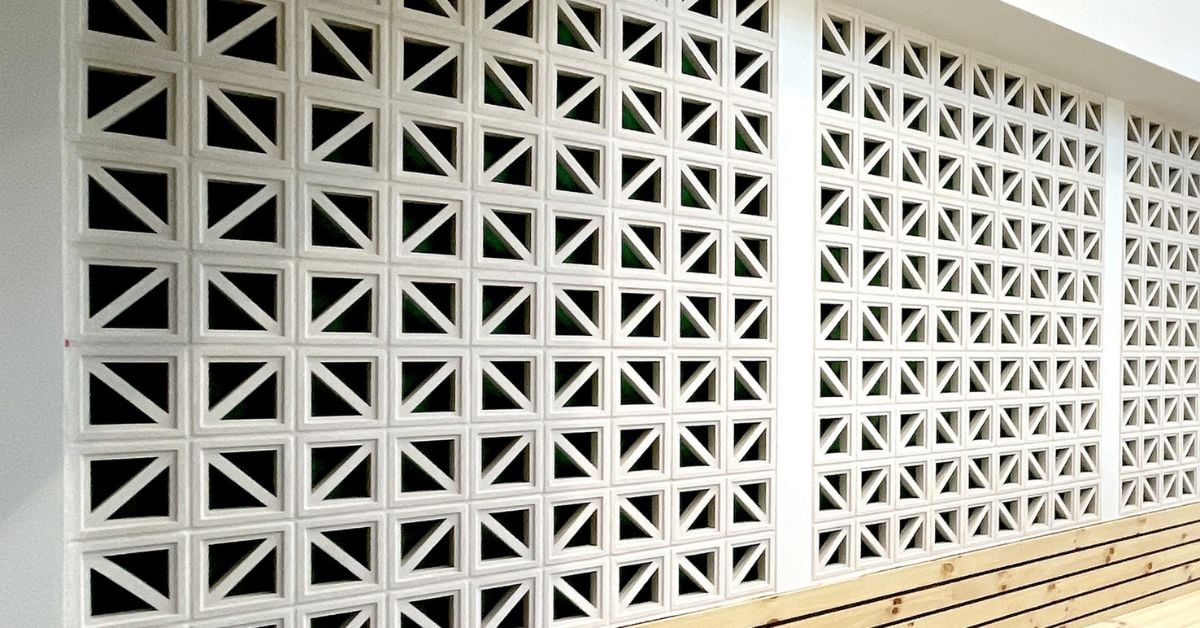
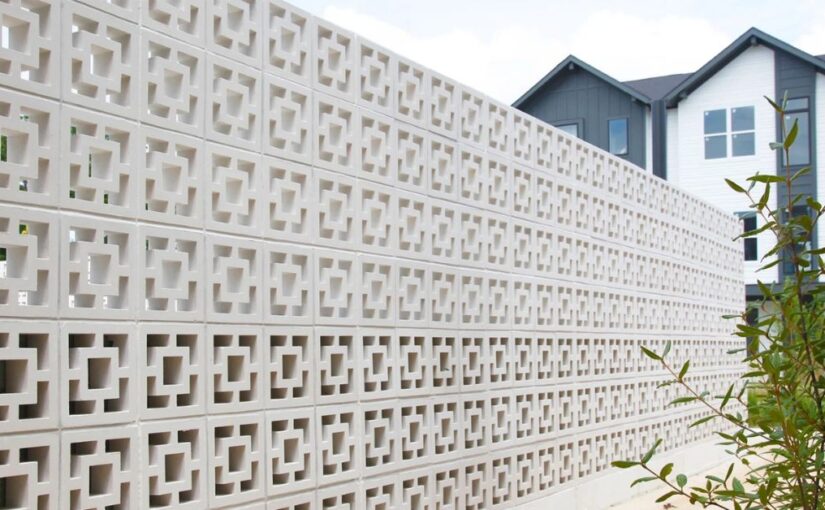
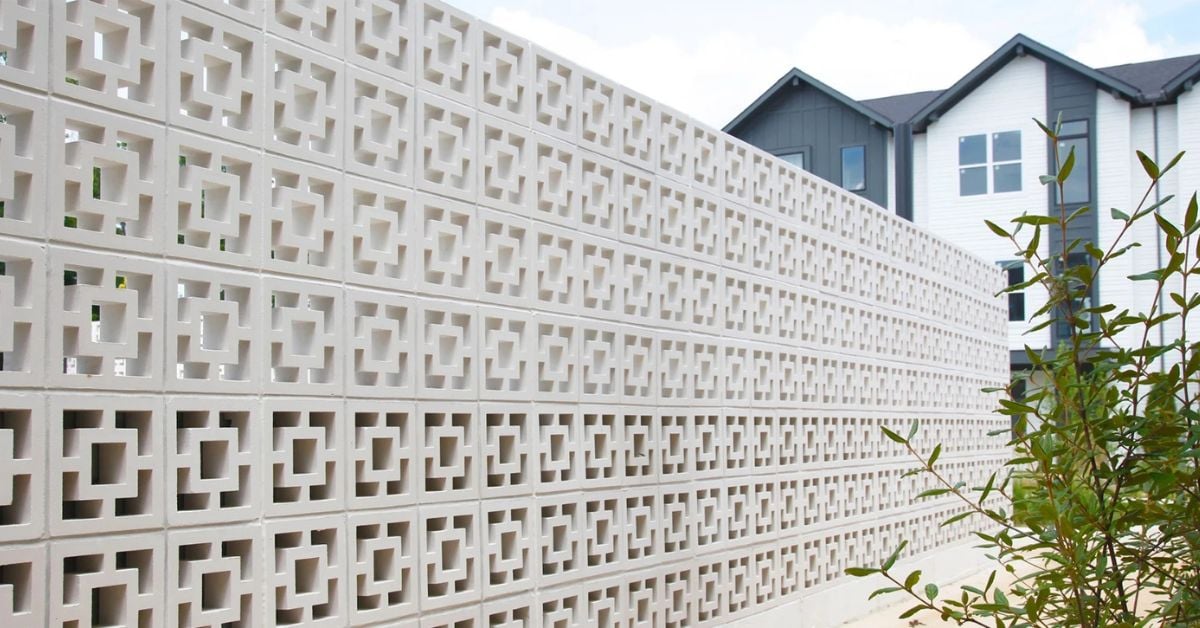
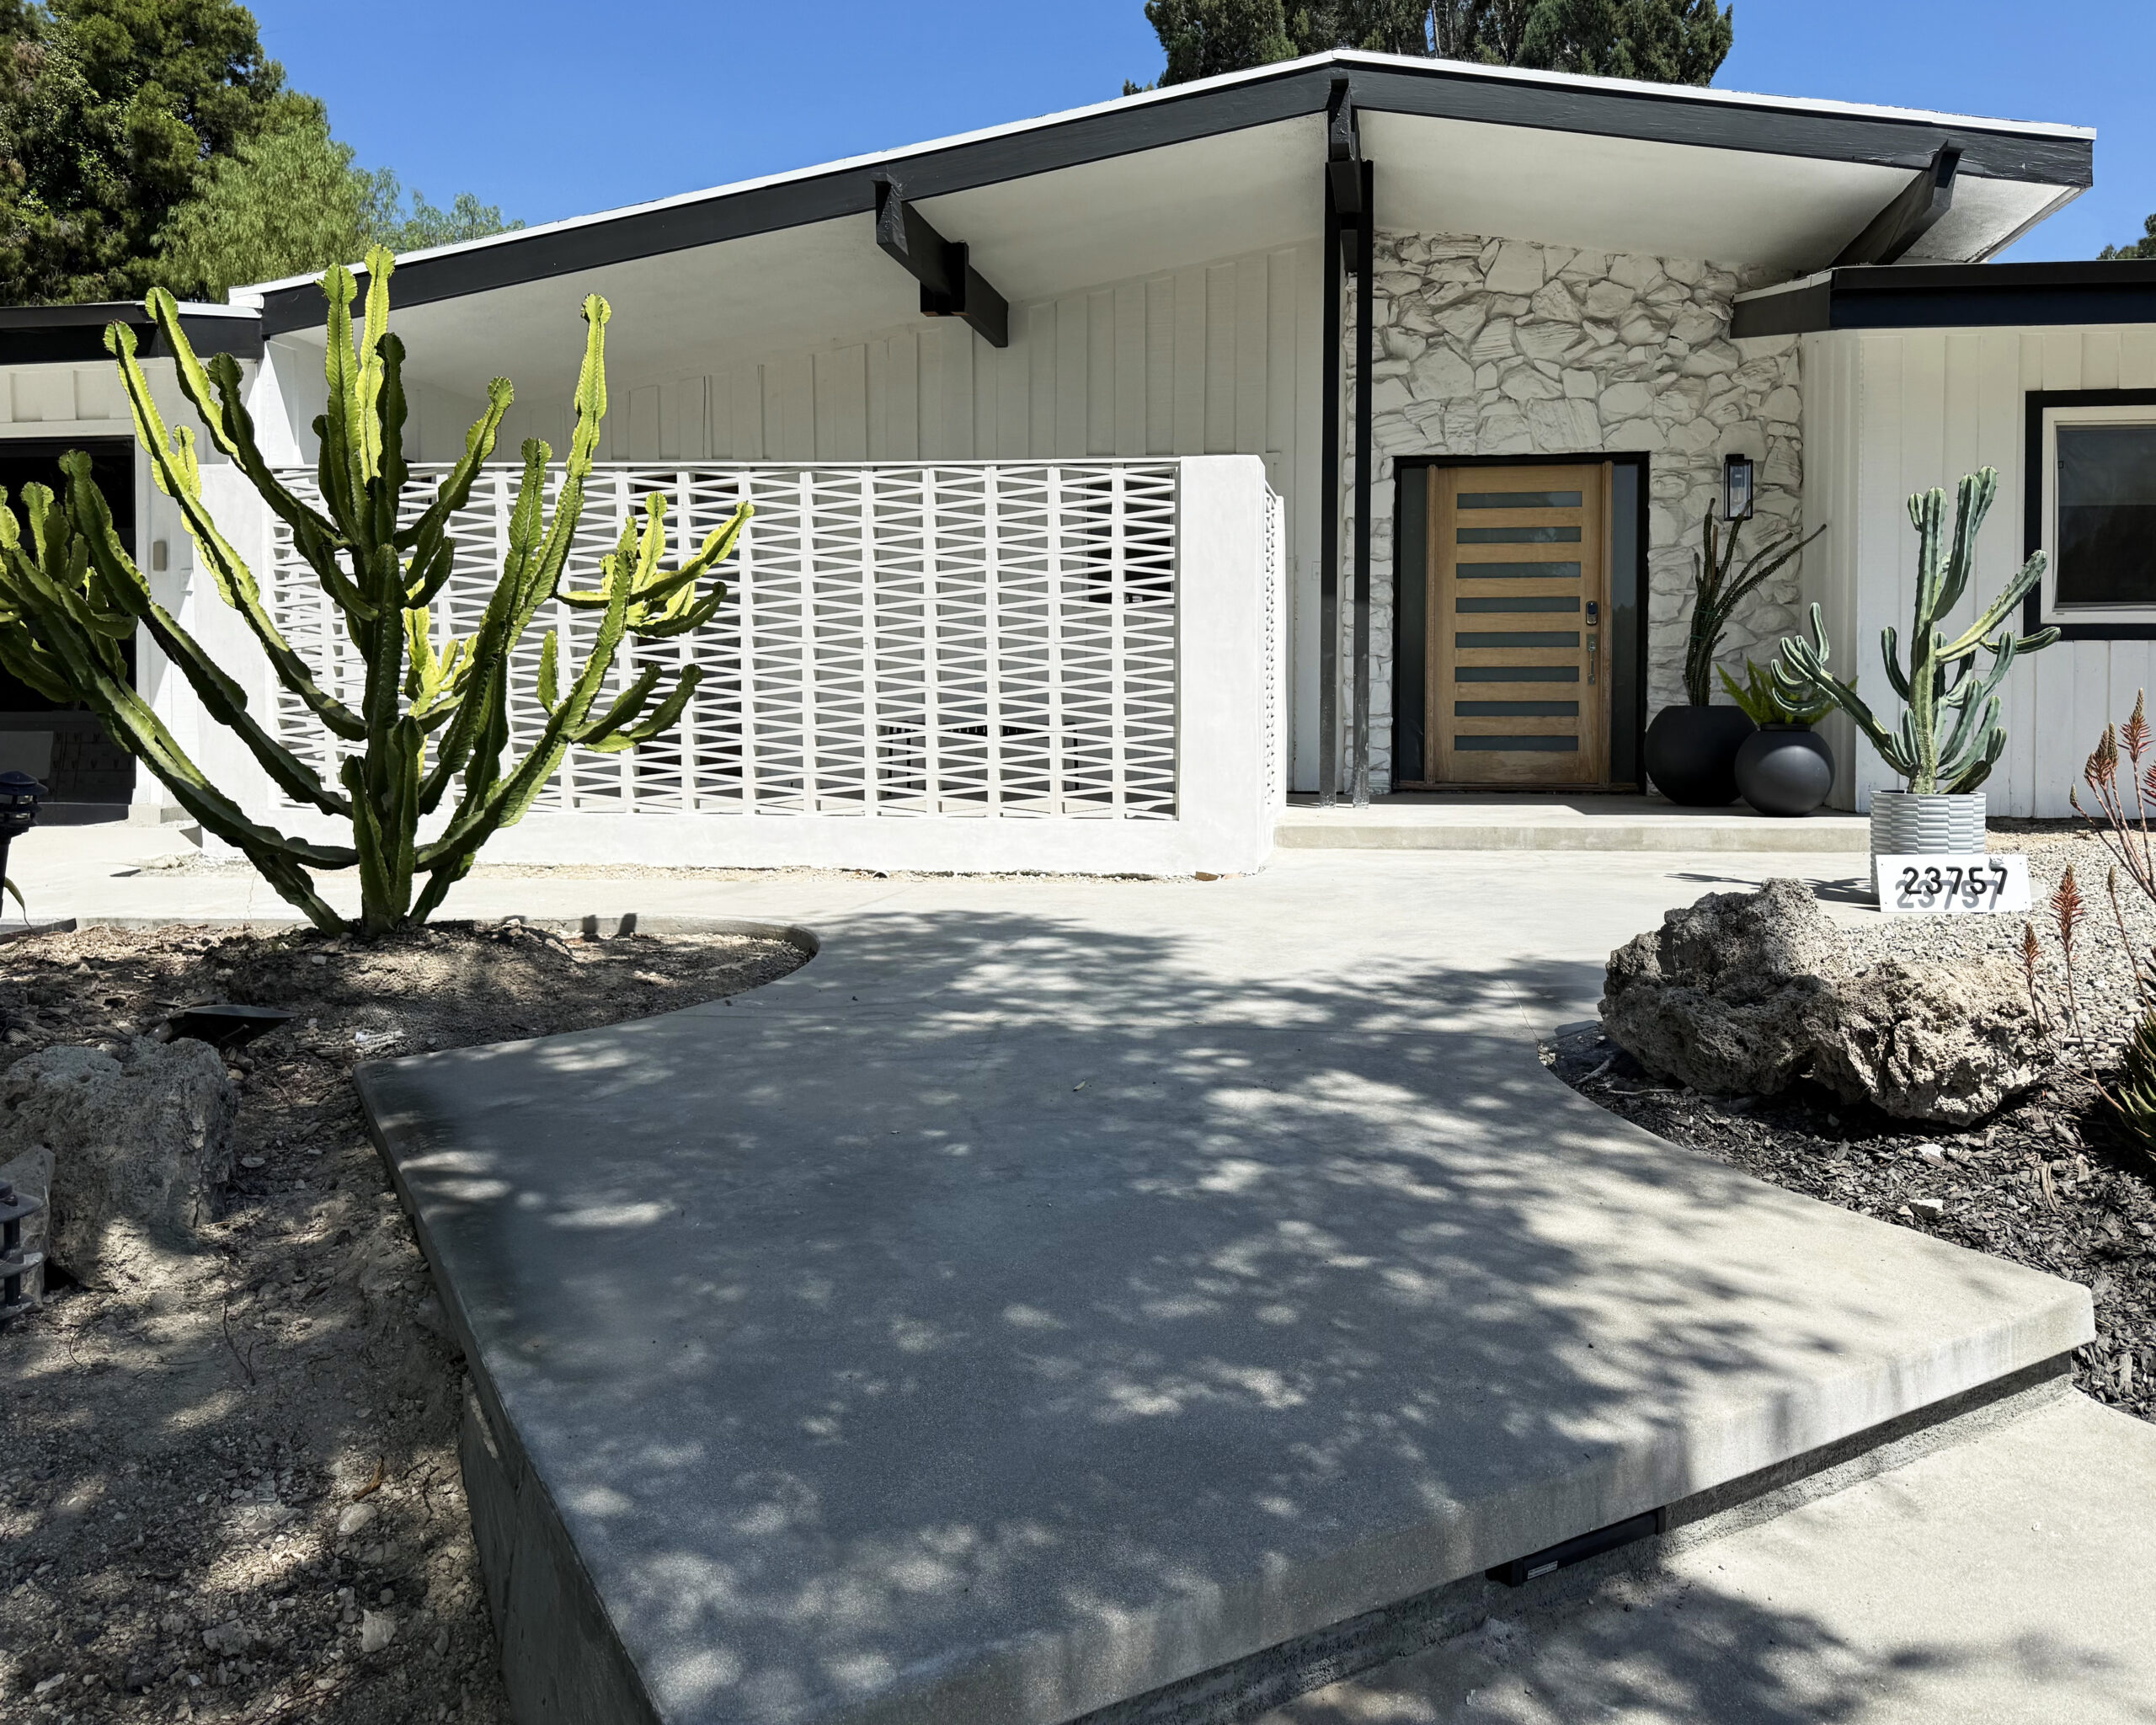
Breeze blocks have a way of stealing the show. Their sculptural cutouts, graphic shadows, and mid-century charm make them a favorite for designers working on residential and hospitality spaces alike. But when it comes to painting them, a quick coat and a roller simply won’t do. Knowing the right way to prep and paint breeze blocks is what separates a crisp, architectural finish from a patchy, peeling mess. If you’re refreshing an existing installation or customizing blocks for a new project, here’s how to do it the right way.

Why Proper Prep Matters

Breeze blocks are typically made from cement or concrete, which means they’re porous by nature. That porosity is part of their beauty, but it also means they absorb moisture and paint differently than smooth drywall or wood.

If the surface isn’t cleaned and sealed correctly, paint can soak in unevenly, leading to blotchy color and premature chipping. In exterior applications, skipping prep can also trap moisture inside the block. Over time, that leads to cracking and surface damage.

In short, prep isn’t optional. It’s the foundation of a professional result.

Step One: Start With a Thorough Cleaning

Before you even think about primer, the surface must be completely clean. Breeze blocks collect dust, dirt, and construction residue in their openings and textured surfaces. Exterior installations may also have mildew or mineral buildup.

Use a stiff-bristle brush to loosen debris. For deeper cleaning, a mild detergent mixed with water works well. In exterior settings, a gentle pressure wash can be helpful, but avoid aggressive settings that could damage edges.

Allow the blocks to dry fully before moving to the next step. Because concrete holds moisture, this may take longer than expected. Painting over damp blocks can cause bubbling and adhesion problems later.

Step Two: Repair Imperfections

Once clean and dry, inspect the blocks carefully. Look for hairline cracks, chips along the edges, or uneven mortar joints.

Small cracks can be filled with a masonry patching compound. Use a putty knife to smooth the surface and let it cure according to manufacturer directions. If mortar joints are crumbling, they should be repaired before painting.

The goal is to create a stable, uniform surface. Paint will not hide structural flaws. It will only highlight them.

The Right Way to Prep and Paint Breeze Blocks

Step Three: Apply a Masonry Primer

Concrete and cement surfaces require a primer designed specifically for masonry. This step seals the porous surface and creates an even base for paint to adhere to.

Choose a high-quality bonding primer labeled for concrete or cement block. For exterior applications, make sure it is rated for outdoor use and offers moisture resistance.

Apply primer with a brush to reach into the decorative cutouts. A small roller can help cover flat faces more efficiently, but breeze blocks demand patience. Their curves and openings require careful attention.

Allow the primer to dry completely before applying paint. Skipping proper drying time is one of the most common mistakes in this process.

Choosing the Right Paint

Not all paint performs well on masonry. For designer cement blocks, durability and breathability matter.

Acrylic latex paint formulated for exterior masonry is typically the best choice, even for interior installations. It adheres well, resists cracking, and allows moisture vapor to escape. That breathability helps prevent blistering over time.

For outdoor breeze block walls, consider paint with built-in UV resistance. Sun exposure can fade color quickly, especially in bright white or saturated hues.

Finish also plays a role. A satin or low-sheen finish highlights the dimensional qualities of the block without emphasizing surface irregularities. High-gloss finishes tend to draw attention to texture in ways that may feel harsh.

Step Four: Apply Paint With Care

When painting breeze blocks, technique matters just as much as product selection.

Use a high-quality angled brush to work paint into corners and detailed openings. A small roller can be used for larger flat surfaces, but it should not replace brushing entirely. Spray applications can work in some cases, particularly for new installations, but they require masking surrounding areas carefully.

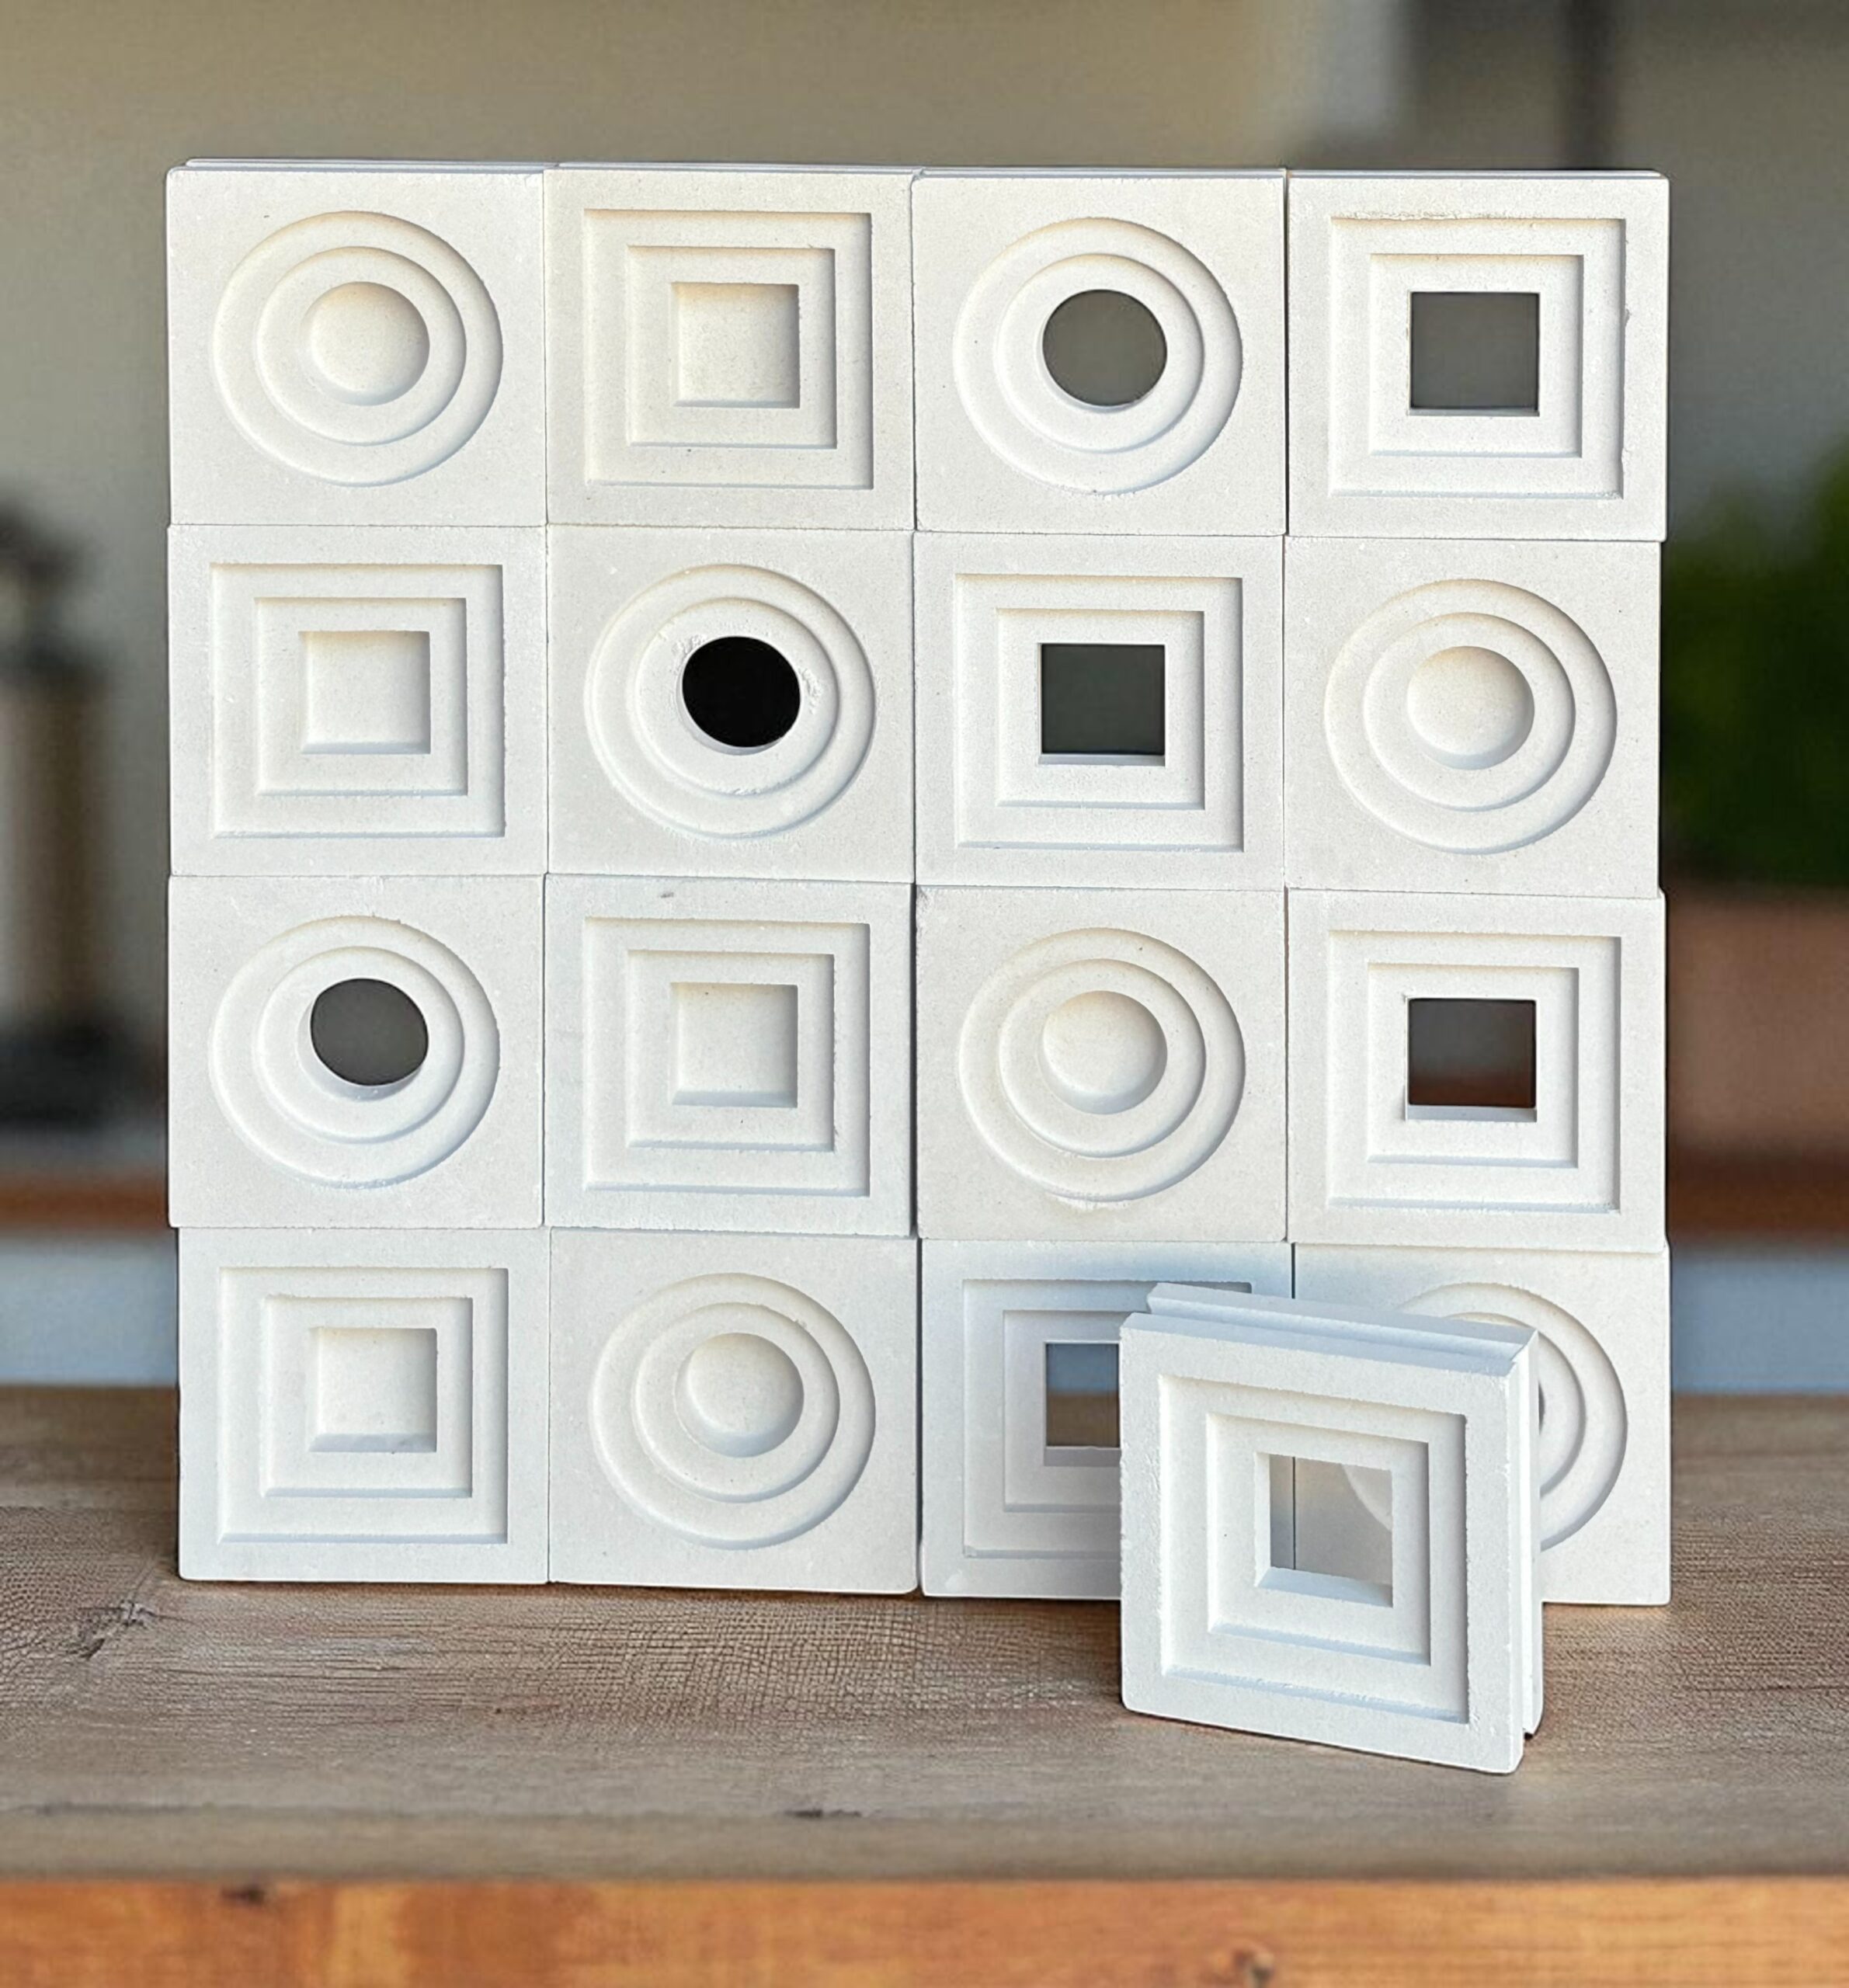
Apply paint in thin, even coats. Thick layers may drip or pool in the cutouts, which can soften the crisp geometry that makes breeze blocks so striking. Two lighter coats typically provide better coverage and a longer-lasting finish than one heavy application.

Allow adequate drying time between coats. Rushing this step can compromise adhesion and durability.

Interior vs. Exterior Considerations

Painting breeze blocks indoors offers more flexibility. Climate control reduces moisture concerns, and color choices can lean bold without worrying about UV exposure.

Exterior installations require more planning, as temperature and humidity affect drying time and overall performance. Avoid painting in direct midday sun or during rainy conditions; ideally, choose a mild, dry day with stable temperatures.

In coastal environments, salt air can be particularly harsh on exterior finishes. Selecting high-performance paint and primer products is especially important in these settings.

Color Strategy for Breeze Blocks

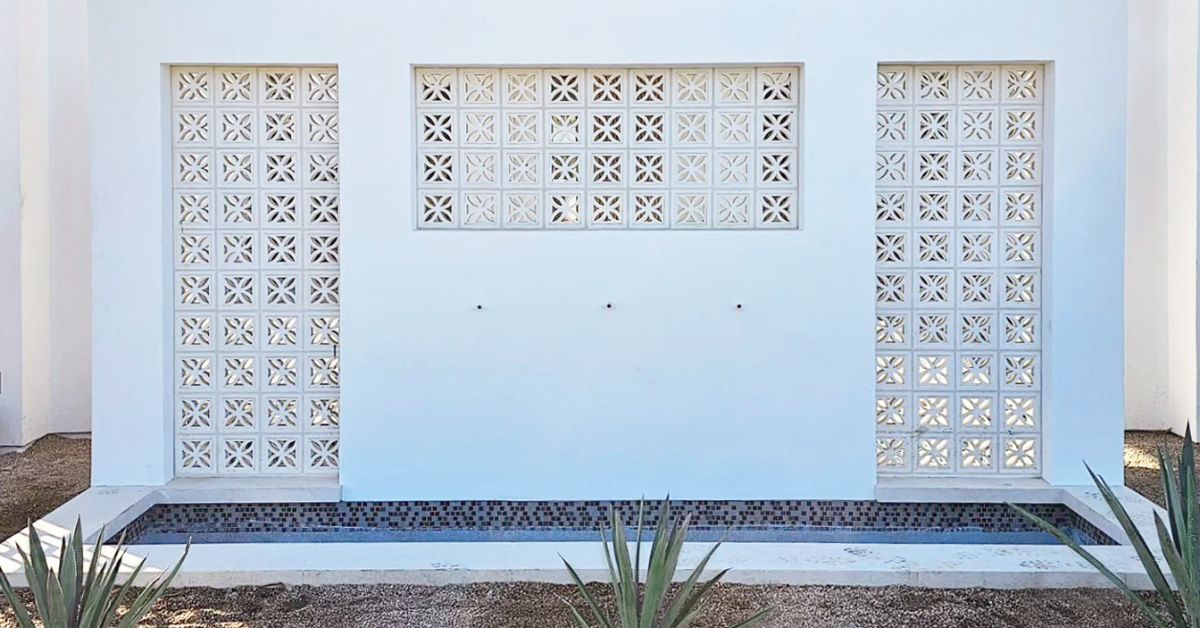
Because breeze blocks create pattern through shadow and light, color interacts differently than it does on flat walls. Light tones emphasize form and allow shadows to stand out dramatically throughout the day.

Darker shades create a more solid, graphic look. They reduce shadow contrast and can make the installation feel bold and modern.

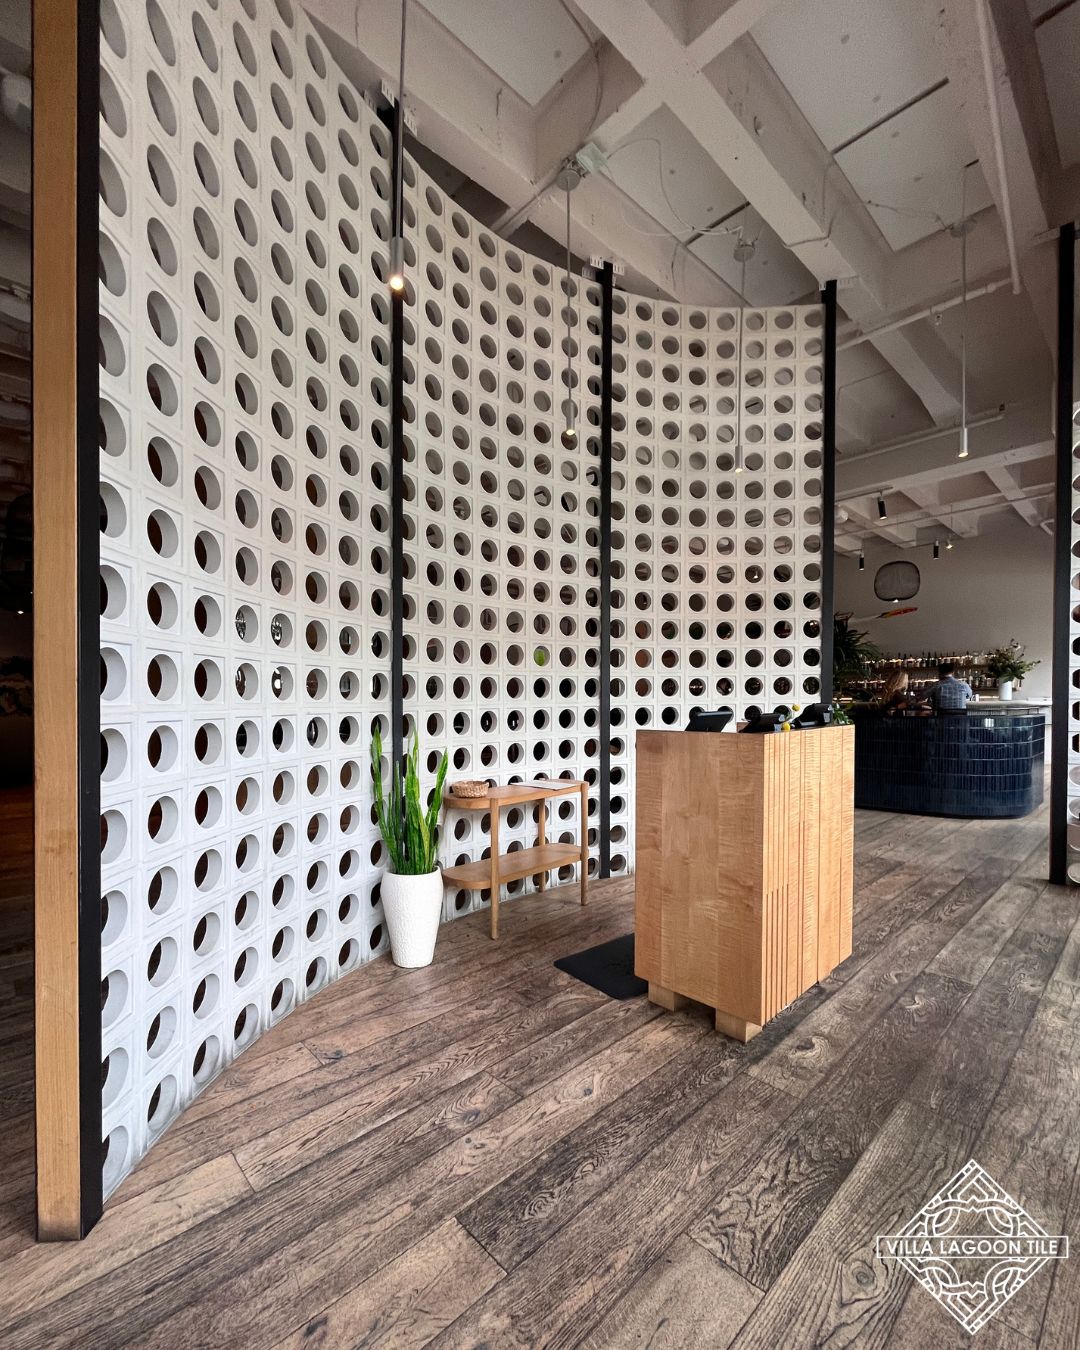
For hospitality spaces or statement walls, designers often use breeze blocks as sculptural backdrops. In these cases, paint color should coordinate with surrounding materials, including tile, flooring, and furnishings.

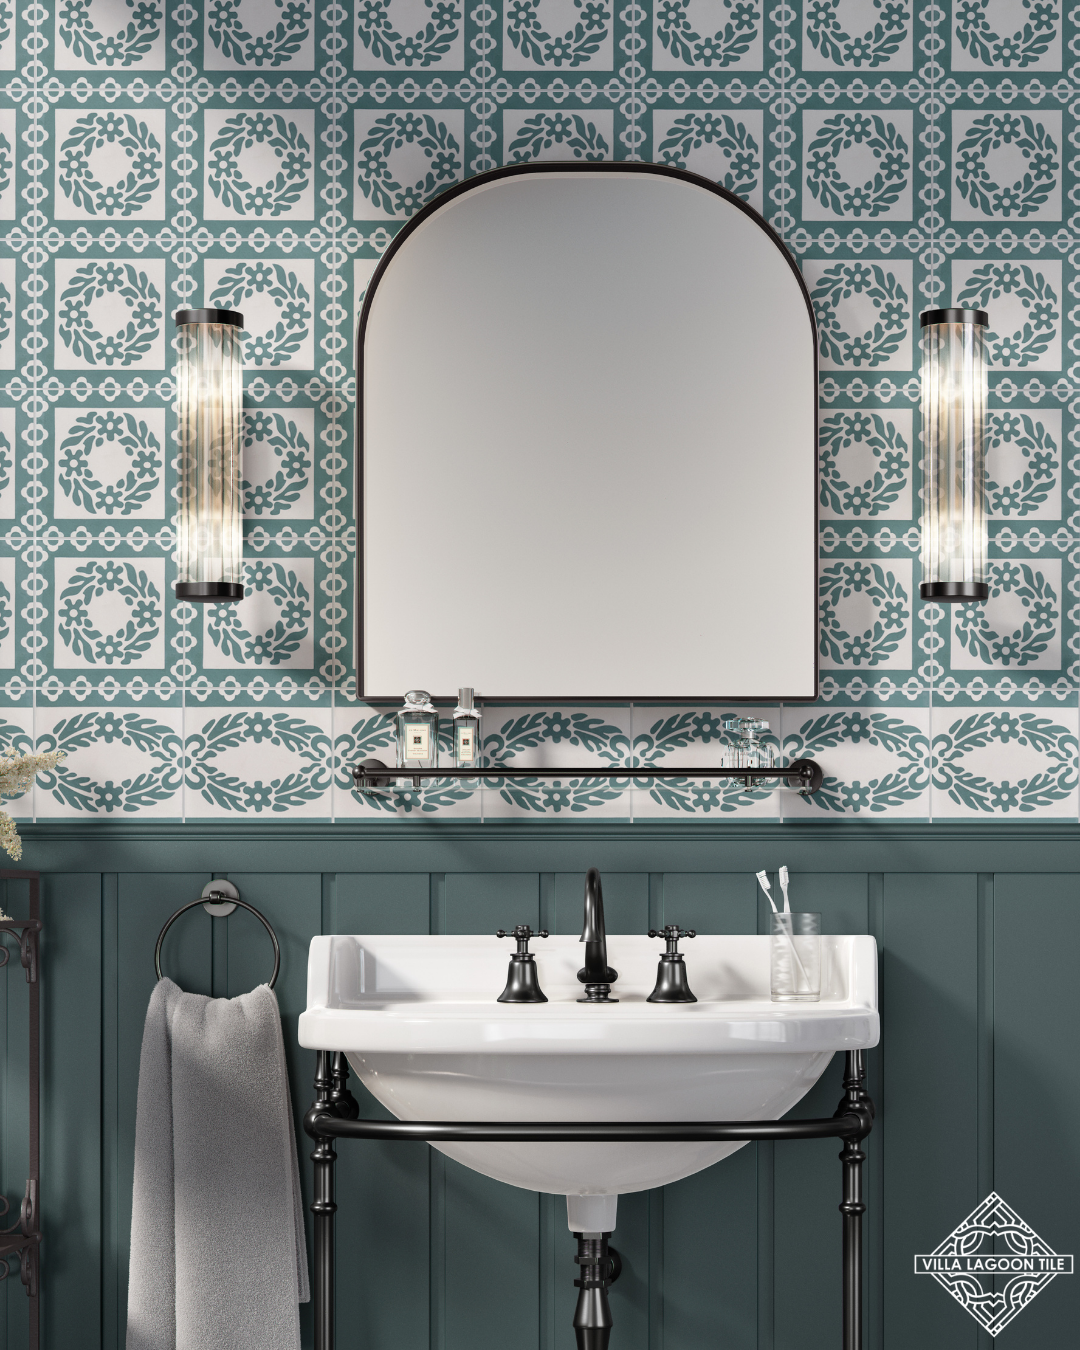
When working alongside patterned surfaces such as cement tiles, consider how color repetition or contrast will affect the overall composition. The blocks should feel intentional, not disconnected from the larger design story.

Maintaining Painted Breeze Blocks

Even with proper prep and high-quality materials, painted masonry requires maintenance over time.

Regular cleaning with mild soap and water helps prevent buildup that can dull the finish. Avoid harsh chemical cleaners that may strip or discolor paint.

Inspect exterior blocks annually for signs of cracking or peeling, and touch up small areas promptly to prevent moisture intrusion. With the right care, a painted breeze block installation can maintain its fresh look for years.

When to Consider a Different Finish

In some cases, painting may not be the ideal solution. If the natural texture and tone of the concrete complement the design, sealing the blocks instead of painting them can preserve their raw character.

Specialty masonry stains are another option. They penetrate the surface rather than forming a film on top, resulting in a more natural, mineral-based appearance.

The decision ultimately depends on the design goal. Paint offers bold customization, while sealers and stains highlight the inherent beauty of the material itself.

Bringing It All Together

Breeze blocks are architectural elements first and decorative accents second. Their dimensional structure demands thoughtful treatment.

Taking the time to clean, repair, prime, and apply paint properly ensures that the final result looks polished rather than improvised. The difference shows in the crispness of the edges, the evenness of the color, and the longevity of the finish.

Whether used as a privacy screen, feature wall, or exterior façade, knowing how to properly prep and paint breeze blocks can transform a space. With the right preparation and materials, they maintain their sculptural presence while gaining a fresh layer of personality.

How to Design a Dream Shower With Moroccan Tiles

How to Design a Dream Shower With Moroccan Tiles

Designing a dream shower is about more than selecting beautiful materials. It is about creating an experience that feels luxurious, relaxing, and deeply personal. Moroccan tiles, known for their vibrant colors, intricate patterns, and handcrafted charm, offer the perfect foundation for a shower that feels like a private retreat. By knowing how to design a dream shower with Moroccan tiles, you can transform an ordinary bathroom into a stunning, spa-like sanctuary.

Embracing the Beauty of Moroccan Tiles

Moroccan tiles are celebrated for their artistry and timeless appeal. From hand-cut Zellige tiles to bold geometric cement patterns, these materials bring texture and movement to any space. Each tile often features subtle variations in color and finish, which gives your shower walls depth and authenticity.

In a shower setting, this handcrafted quality becomes even more striking. Light reflects differently across the glazed surfaces, creating a shimmering effect when water runs over the tiles. The result is a space that feels alive and layered rather than flat or uniform. Choosing Moroccan tiles means embracing character, individuality, and a sense of global elegance.

Choosing the Right Color Palette

Color plays a defining role in designing your dream shower. Moroccan tiles are available in a wide spectrum, from deep sapphire blues and emerald greens to soft neutrals and warm terracottas. The palette you choose should reflect the mood you want to create.

For a serene, spa-inspired shower, consider soft whites, sandy beiges, or muted blues. These shades evoke the calm of coastal landscapes and help the space feel open and airy. If you want a dramatic, luxurious atmosphere, jewel tones like teal, navy, or rich plum can create a bold statement. Pairing vibrant tiles with brass or matte black fixtures can enhance the overall sophistication.

Keep in mind that smaller bathrooms may benefit from lighter tones that visually expand the space, while larger showers can handle darker or more intricate patterns without feeling overwhelming.

Playing With Pattern and Layout

One of the most exciting aspects of working with Moroccan tiles is the opportunity to incorporate intricate patterns. Geometric motifs, starbursts, and interlocking designs can transform a simple shower wall into a work of art.

When designing your layout, consider whether you want the pattern to dominate the entire shower or serve as an accent. Covering all walls in a bold design creates a dramatic, immersive environment. Alternatively, using patterned tiles on a feature wall or within a recessed niche allows you to balance visual impact with subtlety.

You can also mix solid Moroccan Zellige tiles with patterned cement tiles for contrast. For example, solid tiles may line the majority of the shower walls, while a decorative pattern defines the back wall or frames the shower bench. Thoughtful placement ensures the design feels intentional and harmonious rather than chaotic.

How to Design a Dream Shower With Moroccan Tiles

Incorporating Texture and Dimension

Texture is a hallmark of Moroccan tile design. Zellige tiles, in particular, are known for their slightly uneven surfaces and handcrafted edges. This subtle irregularity adds dimension and warmth to the shower.

To enhance this effect, consider how light interacts with the tiles. Installing layered lighting, such as recessed ceiling lights combined with wall sconces, highlights the surface variations and creates a soft glow. Natural light from a nearby window or skylight further enhances the reflective qualities of glazed tiles.

You can also incorporate dimensional elements like built-in niches, floating benches, or arched alcoves. Lining these architectural features with Moroccan tiles draws attention to their shape and adds visual interest. The combination of texture, light, and form elevates the overall design.

Designing for Function and Comfort

While aesthetics are important, a dream shower must also be functional and comfortable. Start by determining the size and layout that best suits your space. Walk-in showers with frameless glass enclosures showcase Moroccan tiles beautifully and allow the design to remain the focal point.

Consider practical elements such as proper drainage, slip resistance, and ease of maintenance. For shower floors, smaller mosaic tiles are often ideal because they provide more grout lines, which improve traction. Many Moroccan-inspired mosaics combine beauty with functionality, making them suitable for wet environments.

Built-in seating can add a touch of luxury and comfort. A tiled bench or corner seat not only enhances usability but also creates another opportunity to showcase complementary tile patterns or colors. Thoughtful planning ensures your shower feels as good as it looks.

Coordinating Fixtures and Finishes

The fixtures you choose should complement the richness of Moroccan tiles without competing with them. Brass and gold finishes pair beautifully with warm-toned tiles, enhancing their earthy depth. Chrome and polished nickel offer a clean, modern contrast to intricate patterns. Matte black fixtures create a striking, contemporary edge.

Rainfall showerheads and handheld sprayers contribute to a spa-like experience. Wall-mounted controls in a matching finish tie the design together. When selecting hardware, aim for a cohesive look that supports the overall aesthetic.

Glass enclosures, minimal framing, and clean lines help keep the focus on the tilework. The goal is to allow the handcrafted beauty of the Moroccan tiles to shine while ensuring the space feels balanced and refined.

Creating a Focal Point

Every dream shower benefits from a clear focal point. Moroccan tiles naturally lend themselves to this role. You might choose a dramatic patterned wall at the back of the shower or frame a large arched niche with contrasting tiles.

Another approach is to extend the tile from floor to ceiling, drawing the eye upward and making the shower feel taller. In larger bathrooms, continuing the tile beyond the shower and onto adjacent walls can create a seamless, immersive design.

The key is to be intentional. A well-defined focal point anchors the space and gives the design a sense of purpose. Whether subtle or bold, it should feel integrated into the overall vision.

Balancing Traditional and Modern Elements

Moroccan tiles have deep historical roots, but they can easily be incorporated into modern bathroom designs. Balancing traditional craftsmanship with contemporary features creates a fresh and timeless result.

For a modern take, pair classic Moroccan patterns with sleek glass panels, minimalist vanities, and clean architectural lines. Neutral grout can help tone down intricate designs and give them a more understated feel. On the other hand, embracing a fully traditional aesthetic with ornate mirrors, warm lighting, and natural wood accents can create a richly layered atmosphere.

Finding the right balance ensures your dream shower reflects your personal style while maintaining visual harmony.

Maintaining Your Moroccan Tile Shower

To keep your dream shower looking its best, proper maintenance is essential. Sealing certain types of tiles, particularly cement tiles, helps protect them from moisture and staining. Regular cleaning with gentle, non-abrasive products preserves the glaze and prevents buildup.

Grout maintenance also plays a role in longevity. Choosing high-quality grout and sealing it as recommended reduces the risk of discoloration. With the right care, Moroccan tiles age gracefully and retain their beauty for years to come.

Routine upkeep not only protects your investment but also ensures that your shower continues to feel like a luxurious escape.

Bringing Your Vision to Life

Designing a dream shower with Moroccan tiles is an opportunity to blend artistry, comfort, and functionality. By thoughtfully selecting colors, patterns, textures, and finishes, you can create a space that feels both indulgent and inviting.

From shimmering Zellige walls to bold geometric accents, Moroccan tiles transform an ordinary shower into a personal retreat. With careful planning and attention to detail, your bathroom can become a daily escape that reflects timeless craftsmanship and modern luxury in perfect balance.

Breeze Block Maintenance Tips You Should Know

Breeze Block Maintenance Tips You Should Know

Breeze blocks, also known as concrete blocks or cinder blocks, are a popular choice for both functional and decorative applications in construction and landscaping. Their durability, cost-effectiveness, and versatile nature make them a reliable material for walls, fences, garden features, and even modern architectural designs. However, there are some breeze block maintenance tips you should know to keep them looking beautiful and structurally sound. Neglecting upkeep can lead to cracking, discoloration, or structural issues over time.

Continue reading Breeze Block Maintenance Tips You Should Know

Surprising Facts You Didn’t Know About Cement Tile

Surprising Facts You Didn’t Know About Cement Tile

Cement tile has made a bold comeback in recent years, appearing in everything from trendy cafés to high-end kitchens and boutique hotels. While many people admire its vibrant patterns and matte finish, few truly understand the fascinating history and unique characteristics behind this timeless material.

Cement tile is far more than just a stylish surface. It carries craftsmanship, durability, and design flexibility that set it apart from many other flooring and wall options. If you’ve been looking to incorporate these tiles into your interior design, here are a few surprising facts you didn’t know about cement tiles that might inform your design choices.

Cement Tile Isn’t Fired in a Kiln

One of the most surprising facts about cement tile is that it is not fired like ceramic or porcelain tile. Instead of being baked in a kiln, cement tiles are cured at room temperature. They are made using a hydraulic press that compresses layers of cement mixture under high pressure.

The process begins with a decorative mold that separates different pigment colors, and artisans carefully pour colored cement into the mold by hand, creating intricate patterns. A layer of dry cement and sand is then added behind the design layer for strength. Once pressed, the tile is removed from the mold and submerged in water to cure and harden naturally. This curing process gives cement tile its signature matte finish and rich depth of color. It also means each tile carries subtle variations that add to its character.

Every Tile Is Handmade

Unlike mass-produced ceramic tiles, authentic handmade cement tiles are crafted one by one. Skilled artisans pour pigments and assemble layers manually, making each tile slightly unique. This craftsmanship results in minor variations in color and pattern alignment, which are often considered part of the tile’s charm.

Because each tile is individually crafted, the production process is slower and more labor-intensive. This adds to the cost compared to standard tiles, but it also ensures a level of artistry that cannot be replicated through automation.

In many parts of the world, cement tile production remains a traditional craft passed down through generations. When you install cement tile, you are not just adding a design feature to your home; you are incorporating a piece of living history.

Cement Tile Has Been Around Since the 19th Century

Many homeowners assume cement tile is a modern trend, but its origins date back to the mid-1800s. It first gained popularity in Europe, particularly in France and Spain, before spreading to Latin America and beyond.

During the late 19th and early 20th centuries, cement tile was widely used in grand homes, public buildings, and historic properties. Its durability and decorative appeal made it ideal for entryways, corridors, and courtyards.

The recent resurgence of cement tile is less about reinvention and more about revival. Designers today are re-embracing a material that has already proven its staying power for more than a century.

Why Zellige Tile Is Perfect for Kitchen Floors

It Gets Better with Age

While many surfaces show wear over time, cement tile often becomes more beautiful as it ages. Because the color layer is thick and integral to the tile itself, it does not simply sit on the surface like a glaze. As the tile wears, it develops a soft patina that adds depth and character.

In older homes with original cement tile floors, you can often see how decades of use have enhanced the look rather than diminished it. Proper sealing and maintenance are important, but when cared for correctly, cement tile can last for generations. This aging process appeals to homeowners who appreciate materials that tell a story over time rather than looking factory-perfect forever.

It’s Surprisingly Durable

Some people assume that because cement tile is handmade and unglazed, it must be fragile. In reality, cement tile is incredibly strong. The hydraulic pressing process compacts the materials tightly, resulting in a dense and durable product.

Cement tile performs well in high-traffic areas like kitchens, hallways, and commercial spaces. It is thick and solid, typically around five-eighths of an inch, which adds to its strength. While it can be more porous than glazed tile, proper sealing protects it from stains and moisture. Its durability is one reason you still find original cement tile floors in historic buildings that have stood for over a hundred years.

It’s Not Just for Floors

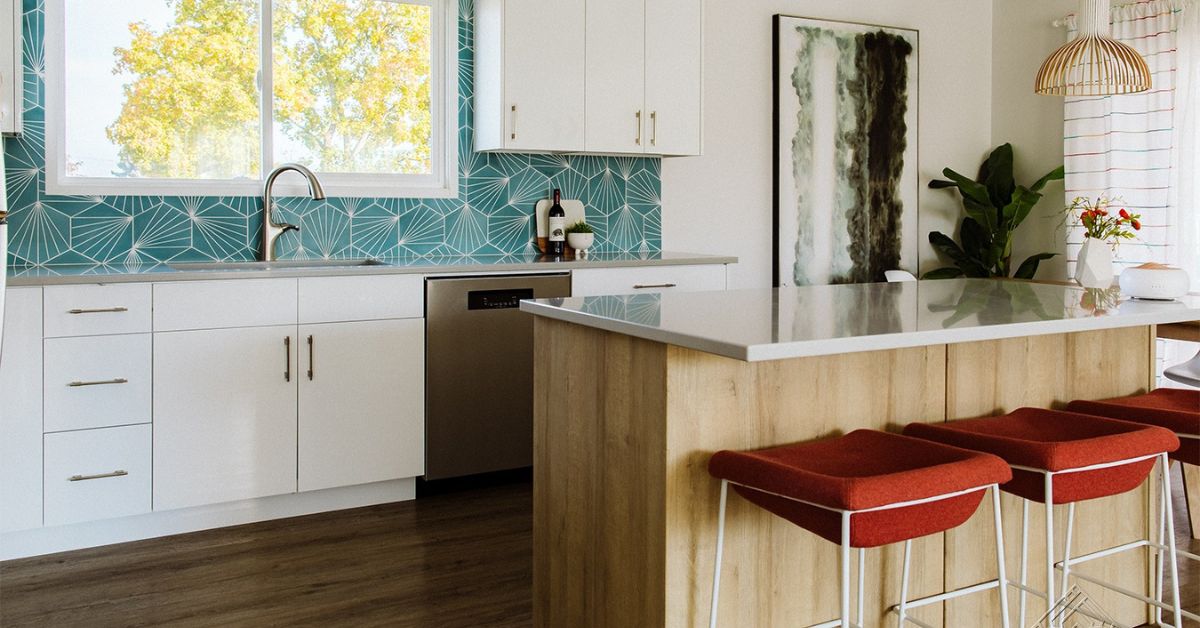
Many people associate cement tile primarily with flooring, but it is equally striking on walls. Designers frequently use cement tile for backsplashes, shower surrounds, fireplace facades, and accent walls.

Because of its bold patterns and colors, cement tile can serve as a focal point in a space. A patterned kitchen backsplash or statement bathroom wall can transform an otherwise simple room into a visually dynamic environment.

The versatility of cement tile makes it suitable for both residential and commercial applications. From retail spaces to restaurants, it brings texture and personality wherever it is installed.

The Colors Are Made from Natural Pigments

Another surprising fact about cement tile is that its colors often come from natural mineral pigments. These pigments are mixed directly into the cement layer that forms the decorative surface.

This method gives cement tile its rich, earthy tones and depth of color. Because the pigment is part of the tile rather than a surface glaze, it does not peel or chip away in the same way glazed finishes can.

The use of mineral-based pigments also contributes to the tile’s timeless appearance. Many of the most popular designs feature classic color palettes that complement both traditional and modern interiors.

It Requires Proper Sealing

Cement tile’s porous nature means it requires sealing before and after installation. While this may seem like a drawback, it is simply part of maintaining a natural material. Sealing protects the tile from stains, moisture, and everyday wear.

With the right sealant and routine maintenance, cement tile can perform beautifully in kitchens and bathrooms. Understanding this characteristic is important for homeowners. When properly cared for, cement tile remains resilient and visually stunning for decades.

Surprising Facts You Didn’t Know About Cement Tile

It Offers Endless Customization

Cement tile provides nearly limitless design possibilities. Because the patterns are created using removable molds, manufacturers can produce a wide range of geometric, floral, and contemporary designs. Homeowners and designers can even create custom patterns and color combinations to suit specific projects.

This flexibility makes cement tile a favorite for those who want a truly unique space. From bold, graphic motifs to subtle, monochromatic designs, cement tile can complement almost any aesthetic. Whether you are aiming for Mediterranean charm, modern minimalism, or vintage elegance, cement tile adapts beautifully.

A Timeless Statement Material

Cement tile is more than a decorative surface. It represents craftsmanship, heritage, and thoughtful design. Its handmade production, natural pigments, and curing process set it apart from mass-produced alternatives.

The next time you see a patterned cement tile floor or backsplash, you might look at it differently. Behind each tile lies a careful process, skilled hands, and a history that stretches back over a century.

In a world of fast manufacturing and fleeting trends, cement tile stands as a reminder that some materials endure not just because they are beautiful, but because they are built to last.

How To Add a Mediterranean Feel Using Cement Tiles

How To Add a Mediterranean Feel Using Cement Tiles

Adding a Mediterranean touch to your home creates a warm, inviting atmosphere that reflects the essence of vibrant coastal regions. Cement tiles, known for their beauty and durability, are one of the most impactful design elements to achieve this aesthetic. Their intricate patterns, textured finishes, and vibrant colors evoke the charm and tranquility of Mediterranean style, making them the perfect choice for homeowners seeking timeless elegance. Whether you’re renovating or designing from scratch, knowing how to add a Mediterranean feel using cement tiles can transform your space into a haven of character and sophistication.

Continue reading How To Add a Mediterranean Feel Using Cement Tiles

The Visual Effect of Tile Patterns in Interiors

The Visual Effect of Tile Patterns in Interiors

Tiles have long been a favored design element in interior spaces, not only for their practicality but also for their ability to create stunning visual effects. Tile patterns can bring texture, depth, and personality to a space, making them a central part of modern and classic interior design alike. From bold geometric arrangements to understated minimalist layouts, the visual effect of tile patterns in interiors can significantly influence the ambiance of a room.

Continue reading The Visual Effect of Tile Patterns in Interiors

Are Encaustic Tiles the Same as Cement Tiles?

Are Encaustic Tiles the Same as Cement Tiles?

With their ability to combine design with functionality, tiles are an architectural staple in homes, businesses, and outdoor spaces. Among the vast array of tile options are encaustic tiles and cement tiles—two distinct styles that are often mistakenly referred to interchangeably. While these tile types may share some visual similarities, they are fundamentally different in terms of their manufacturing processes, materials, longevity, and overall appeal. If you’re looking to use tiles in your next project, make sure you have a definitive answer to the question “Are encaustic tiles the same as cement tiles?”

Continue reading Are Encaustic Tiles the Same as Cement Tiles?

Zellige Tiles: A Story of Art, Craft, and Culture

Zellige Tiles: A Story of Art, Craft, and Culture

Renowned for their intricate patterns and vibrant colors, Zellige tiles have captivated the world for centuries. This traditional form of mosaic tilework originated in Morocco and has since become a symbol of the country’s rich artistic heritage. Rooted in a blend of cultural influences and meticulous craftsmanship, Zellige tiles are not only a statement of architectural beauty but also carry deep historical and cultural significance. If you plan to use Zellige tiles, you’ll love learning their story of art, craft, and culture.

Continue reading Zellige Tiles: A Story of Art, Craft, and Culture

Choosing the Right Breeze Block for Your Space

Choosing the Right Breeze Block for Your Space

Breeze blocks, also known as concrete or cinder blocks, are an incredibly versatile construction material that balances durability with visual appeal. Whether you’re building an exterior fence, crafting a garden wall, or creating a stylish interior feature, choosing the right breeze block for your space is an important step. With so many options available in terms of size, material composition, and design, knowing where to start can feel overwhelming. We’ll break down some of the major considerations to help you choose the perfect breeze block for your space while ensuring long-lasting functionality and aesthetics.

Continue reading Choosing the Right Breeze Block for Your Space

Why Zellige Tile Is Perfect for Kitchen Floors

Why Zellige Tile Is Perfect for Kitchen Floors

When it comes to designing or renovating a kitchen, flooring is one of the most crucial elements to consider. Not only does it set the tone for the overall aesthetic of the space, but it must also withstand the daily wear and tear of a busy household. Among the many flooring options available, zellige tile stands out as an exceptional choice for kitchen floors. With its inherent beauty, durability, and versatility, zellige tile has been a timeless favorite in interior design and continues to grow in popularity for modern homes. When looking to update the look of your home, know why zellige tile is perfect for kitchen floors.

Continue reading Why Zellige Tile Is Perfect for Kitchen Floors